DIY Farmhouse Planters: Rustic Charm for Your Indoor & Outdoor Plants
As I sit amidst the sleek, modern furniture in my living room, I find myself drawn to the rugged, rustic charm of a DIY farmhouse planter. There's something enchanting about the way the distressed wood and natural textures seem to bring a touch of the outdoors in. I've been experimenting with creating my own planters using reclaimed wood and concrete, and I'm excited to share my process with you. But before I reveal the details, let me ask: what makes a farmhouse planter truly special, and how can we capture that essence in our own DIY projects?
Key Takeaways
- Choose durable materials like reclaimed wood, metal, or concrete for a farmhouse planter that can withstand indoor and outdoor conditions.
- Design your planter with a rustic charm by considering the size, shape, style, and material that complements your home's aesthetic.
- Add a vintage touch to your planter by distressing the wood, applying a warm stain, and attaching decorative metal straps or trims.
- Assemble your planter using weather-resistant wood glue, nails, and a clear coat sealant to ensure durability and weather protection.
Choose Your Planter Material
I select a durable material like reclaimed wood, metal, or concrete for my farmhouse planters to guarantee they can withstand the elements and heavy use.
I love reclaimed wood for its unique, rustic charm, but it requires regular sealing to protect it from moisture.
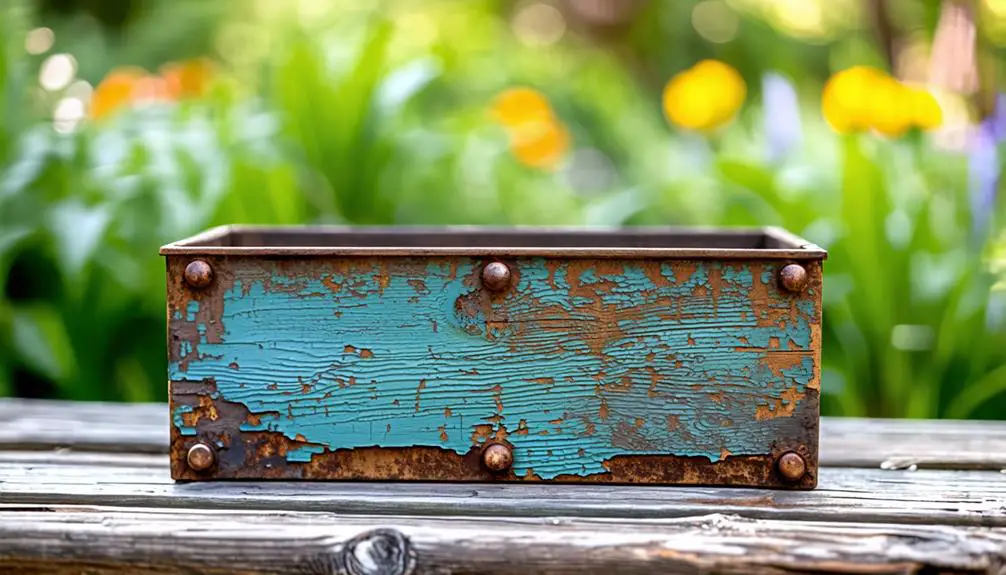
Metal planters are a great option if I want a more modern look, and I can add a distressed finish to give it a vintage vibe.
Concrete planters are another favorite of mine, offering a sleek, industrial look that works well in both indoor and outdoor spaces.
I make sure to contemplate the weight and size of the material before making my final choice.
Design Your Farmhouse Planter
With the material selected, designing the farmhouse planter becomes the next crucial step, requiring careful consideration of size, shape, and style to guarantee it complements the chosen material and desired aesthetic.
I think about the space where I'll place my planter and the type of plants I'll be using. I want my planter to be proportional to the space and the plants.
I also consider the style of my home and the overall theme I want to achieve. I sketch out a few ideas, thinking about the height, width, and depth of the planter.
I also think about any additional design elements I want to include, such as a trellis or a decorative trim. This helps me visualize my design and make any necessary adjustments before I start building.
Prepare Your Planter Box
Once the design is finalized, the next step is to prepare the planter box by gathering the necessary materials and tools to bring the design to life.
I head to my workshop and collect the wood planks, nails, hammer, drill, and a measuring tape. I also grab some weather-resistant wood glue and a sealant to protect my planter from the elements.
To guarantee accuracy, I double-check my design measurements and make any necessary adjustments.
Next, I cut the wood planks according to my design specifications, sanding them to smooth out any rough edges.
With all my materials ready, I can now start assembling my planter box. I'm excited to see my design take shape and become a charming farmhouse planter.
Add a Rustic Touch
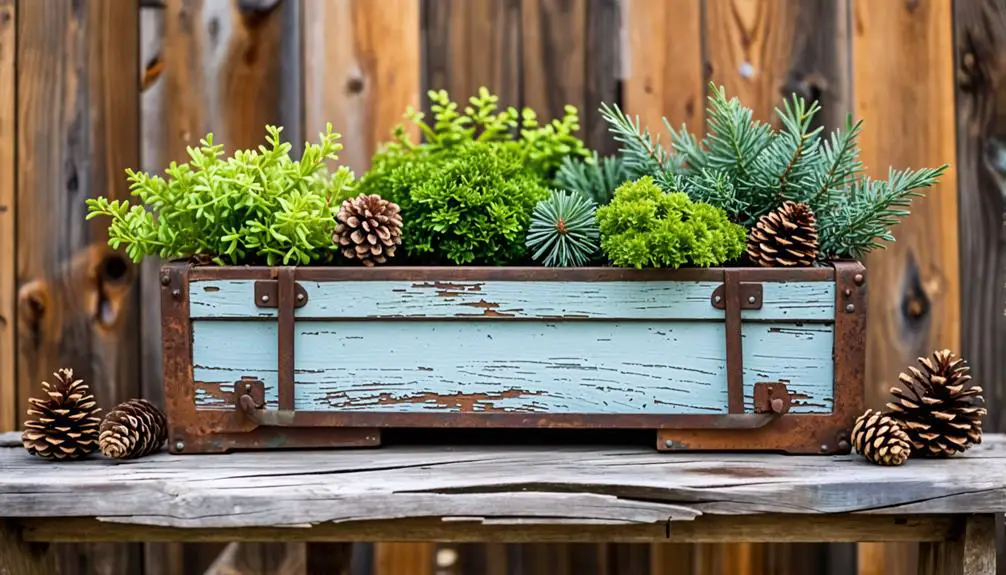
Distressing and staining the wood are the next steps in creating a genuinely rustic look for my farmhouse planter.
I'm using a distressing tool to scratch and scrape the wood, giving it a worn, vintage appearance. This process can be a bit tedious, but it's essential for achieving that perfect rustic charm.
Once I've distressed the entire planter, I'm applying a wood stain to enhance the texture and color of the wood. I've chosen a warm, earthy tone that will complement the natural beauty of the plants.
As the stain dries, I can already see the planter transforming into a beautiful, one-of-a-kind piece. The rustic touch is really starting to shine through, and I'm excited to see the finished result.
Assemble and Finish Planter
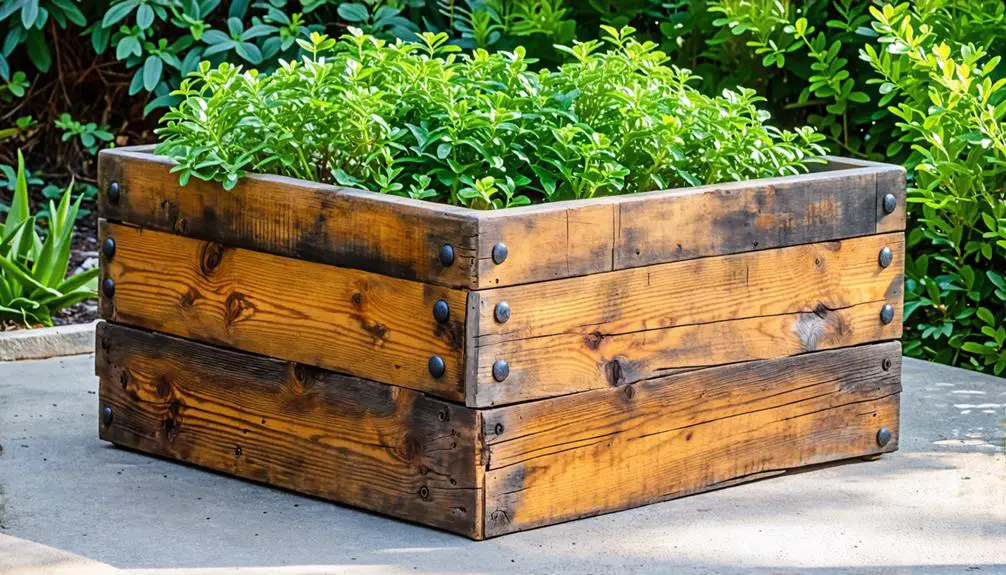
Now that I've got all my materials ready, it's time to bring my DIY farmhouse planter to life by assembling the pieces.
I'll walk you through the planter assembly process, which requires some basic carpentry skills, but don't worry, I'll break it down into manageable steps.
As I assemble the planter, I'll also share my tips for adding those all-important finishing touches that will give it a truly rustic charm.
Planter Assembly Process
Carefully assembling the planter requires attention to detail, so I start by laying out all the cut and prepared pieces in the workspace to guarantee everything is accounted for.
I then use wood glue and nails to assemble the planter's frame, ensuring it's square and sturdy.
Next, I attach the bottom and sides of the planter, making sure they're flush and even. I let the glue dry completely before moving on to the next step.
With the main structure built, I add any additional features, like a decorative trim or a bottom shelf.
I double-check every corner and seam, confirming everything is secure and level.
Adding Finishing Touches
With the planter's main structure built, I shift my focus to adding the decorative elements that will give it a unique, rustic charm.
I start by adding a distressed finish to the wood using a combination of sanding and staining techniques.
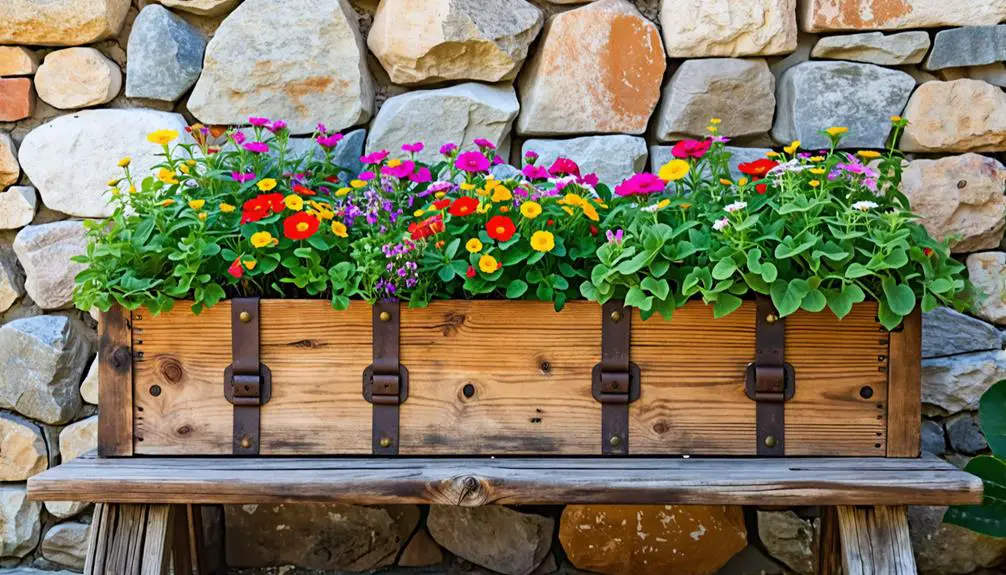
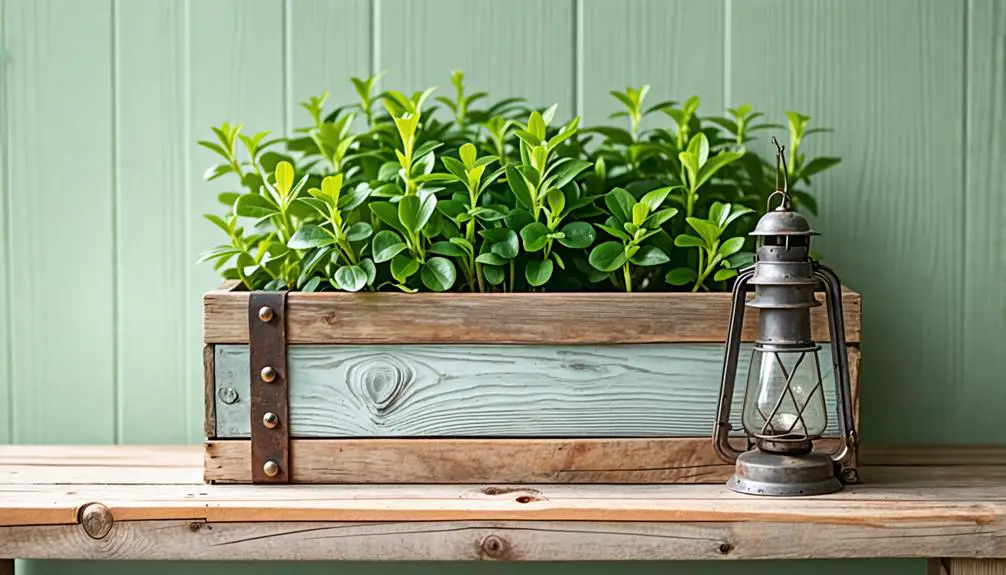
I then attach metal straps to the planter's sides, giving it a nice industrial touch.
To add some texture, I attach a layer of burlap to the planter's interior.
I also add a decorative metal handle to the planter's side, making it easy to move around.
Finally, I add a clear coat of sealant to protect the planter from the elements.
With these finishing touches, my farmhouse planter is complete and ready to add a touch of rustic charm to my home.
Add Your Favorite Plants
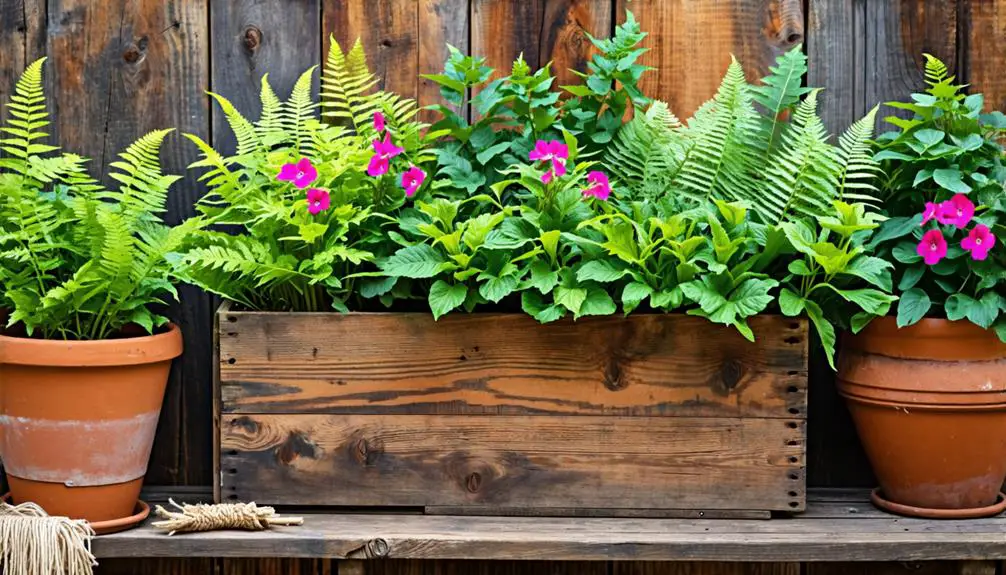
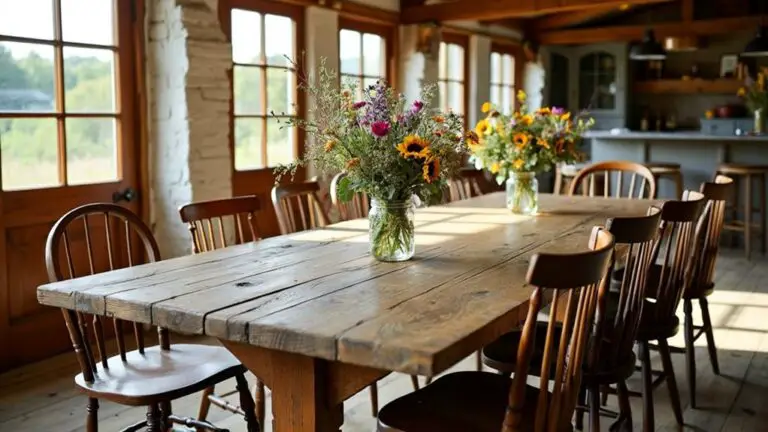
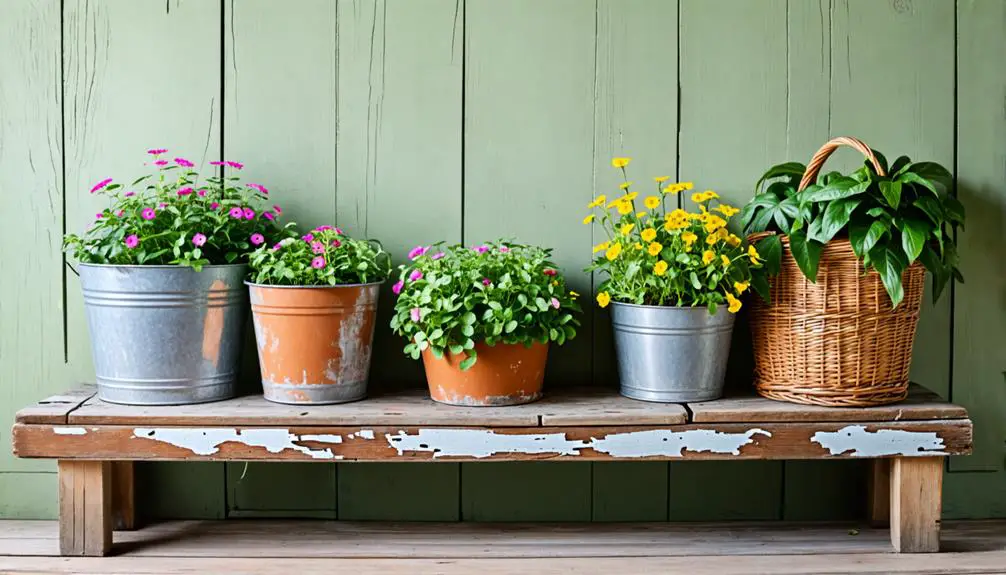
My favorite part of this project is selecting a few beautiful plants that will add a pop of color and texture to my new DIY farmhouse planters.
I head to my local nursery and browse through the various options, considering the lighting conditions and care requirements for each plant. I choose a few of my favorites, including a delicate succulent, a vibrant coleus, and a lush fern.
I gently remove them from their pots and plant them in my new planters, taking care not to disturb their roots.
As I step back to admire my handiwork, I'm thrilled with how the plants bring my DIY farmhouse planters to life. The rustic charm of the planters perfectly complements the natural beauty of the plants.