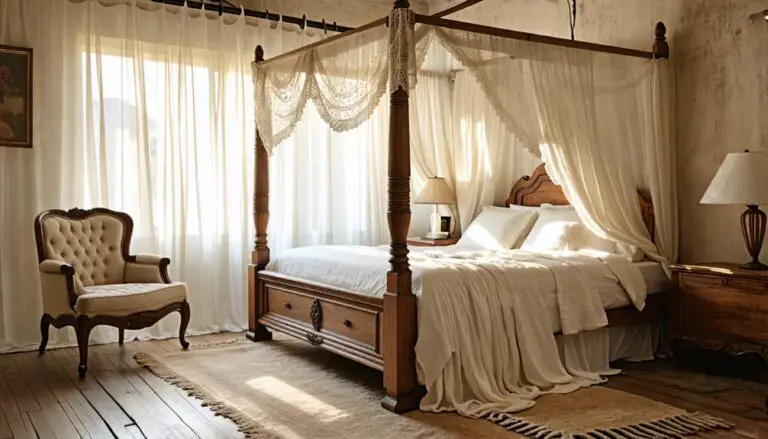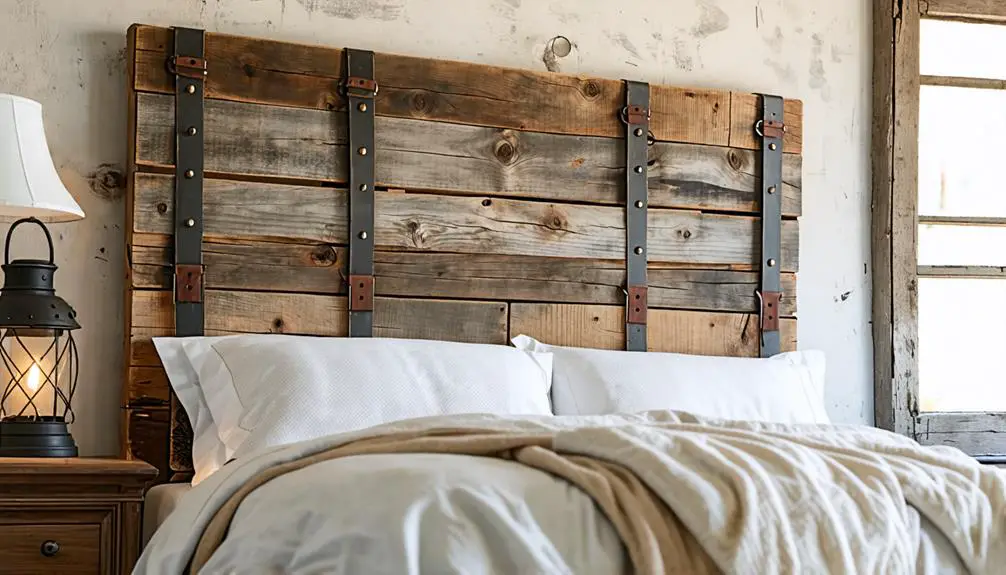
DIY Farmhouse Headboard: Rustic Charm on a Budget (with Tutorial!)
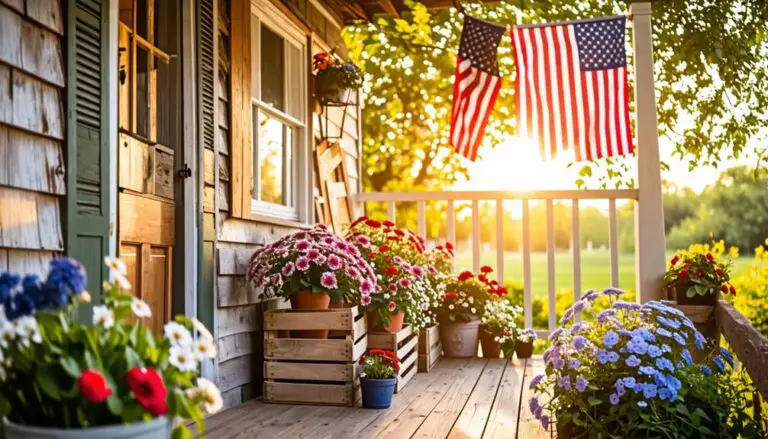
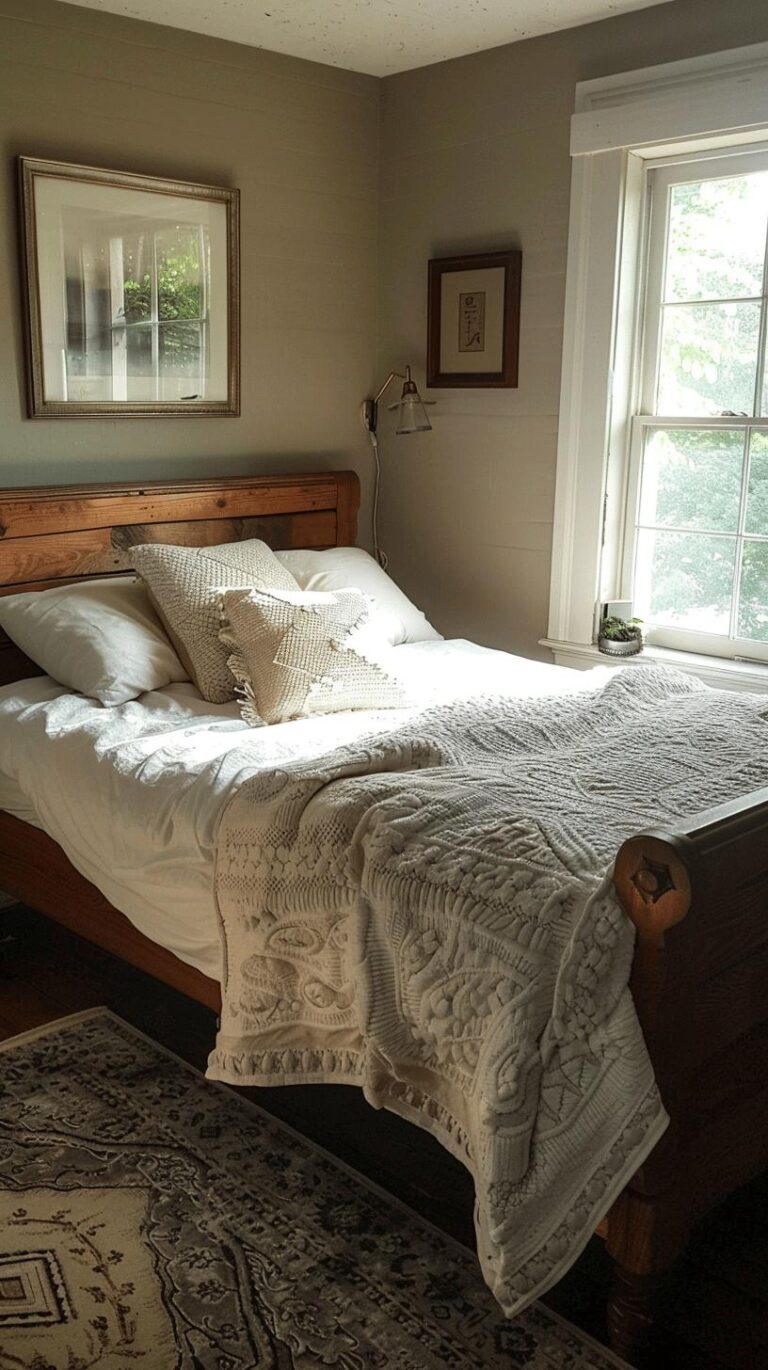
As I lie in my modern bedroom, surrounded by sleek furniture and sterile decor, my mind often wanders to the charming farmhouse bedrooms I've seen, adorned with rustic headboards that exude warmth and character. I've always been drawn to the imperfections of reclaimed wood and the stories it tells, and I've decided to take matters into my own hands. I'm initiating a DIY project to create my own farmhouse headboard, and I'm excited to share the process with you. But can I really replicate the rustic charm I've fallen in love with, all while staying within my budget?
Key Takeaways
- Gather reclaimed wood planks, saw, drill, metal brackets, and other necessary materials to create a rustic and budget-friendly DIY farmhouse headboard.
- Design a basic layout considering bed size, ceiling height, and desired aesthetic, incorporating decorative trim for visual interest.
- Build the headboard frame using precise cuts, wood screws, and metal brackets, ensuring a sturdy and level base.
- Add rustic finishing touches with distressed wood, metal accents, decorative nails, and wood stain to enhance the headboard's character.
Gathering Materials and Tools
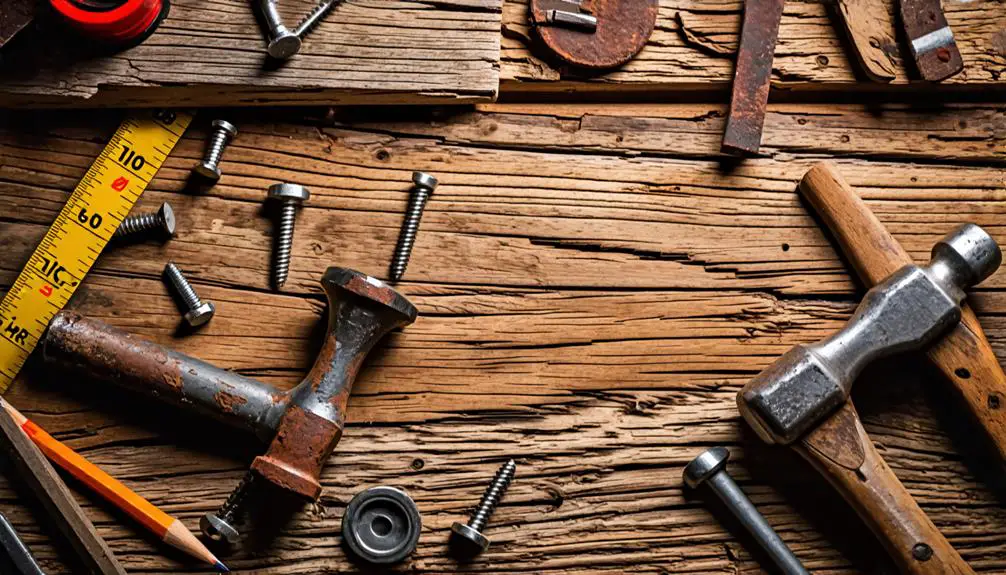
To build a DIY farmhouse headboard, I start by gathering all the necessary materials and tools, including reclaimed wood planks, a saw, a drill, and some sturdy metal brackets.
I hit local hardware stores, thrift shops, and online marketplaces to find the perfect reclaimed wood planks. For the frame, I choose planks with a worn, weathered look to give my headboard that authentic farmhouse feel.
I also select a saw that can handle the thickness of the planks and a drill with the right bits for the job. Metal brackets will provide the necessary support, so I pick ones that are sturdy and can hold the weight of the headboard.
With all my materials and tools in hand, I'm ready to start building.
Designing Your Headboard Layout
With my materials and tools ready, I start sketching out a basic design for my headboard, considering the size of my bed, the height of my ceiling, and the overall aesthetic I want to achieve.
I decide on a rectangular shape with a slightly distressed finish to give it a rustic feel. I also want to incorporate some decorative trim to add visual interest.
I play around with different configurations, considering the placement of the trim and the overall proportions of the headboard.
I make sure to take note of the measurements and dimensions of each design element, ensuring that my final design will be both functional and visually appealing.
Building the Headboard Frame
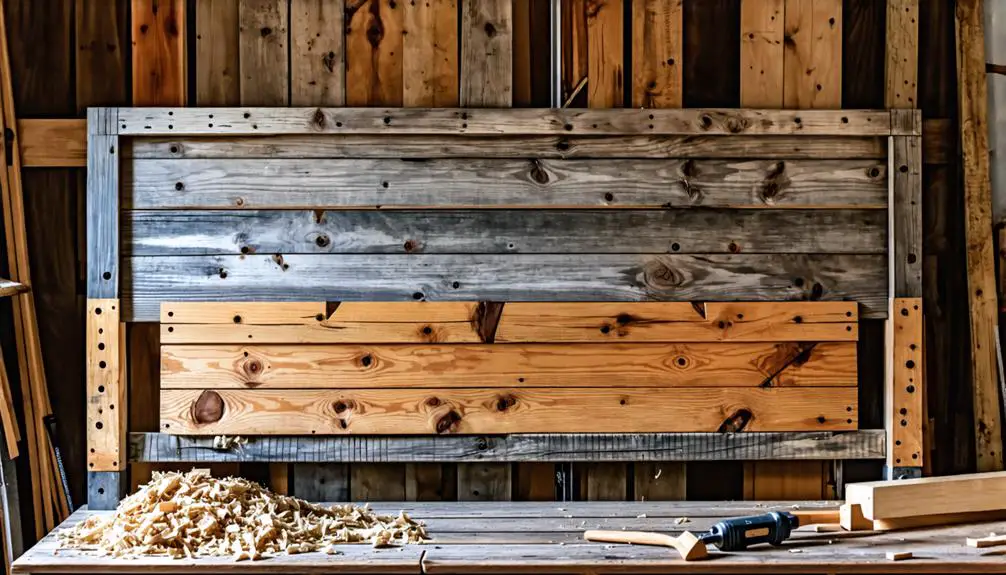
I begin constructing the headboard frame by cutting four pieces of wood to the required lengths, using my previously noted measurements as a guide. Two pieces will be the vertical sides and two will be the horizontal top and bottom.
I use a miter saw to make precise cuts, ensuring a smooth and even finish. Next, I assemble the frame using wood screws, starting with the sides and then attaching the top and bottom pieces.
I make sure the corners are square and the frame is level before tightening the screws. With the frame built, I can now move on to adding the center panel and other design elements.
The frame provides a sturdy base for my DIY farmhouse headboard.
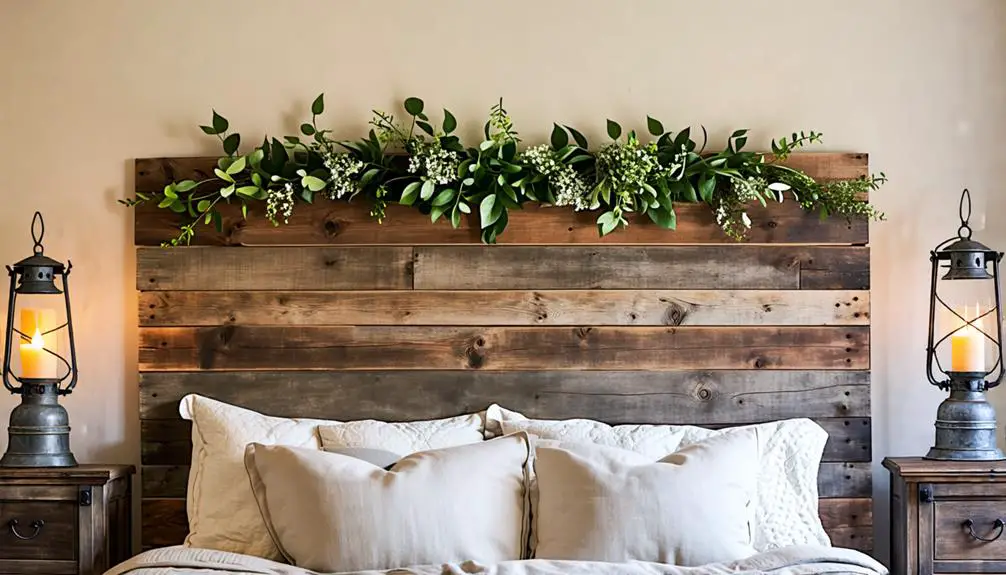
Adding Rustic Finishing Touches
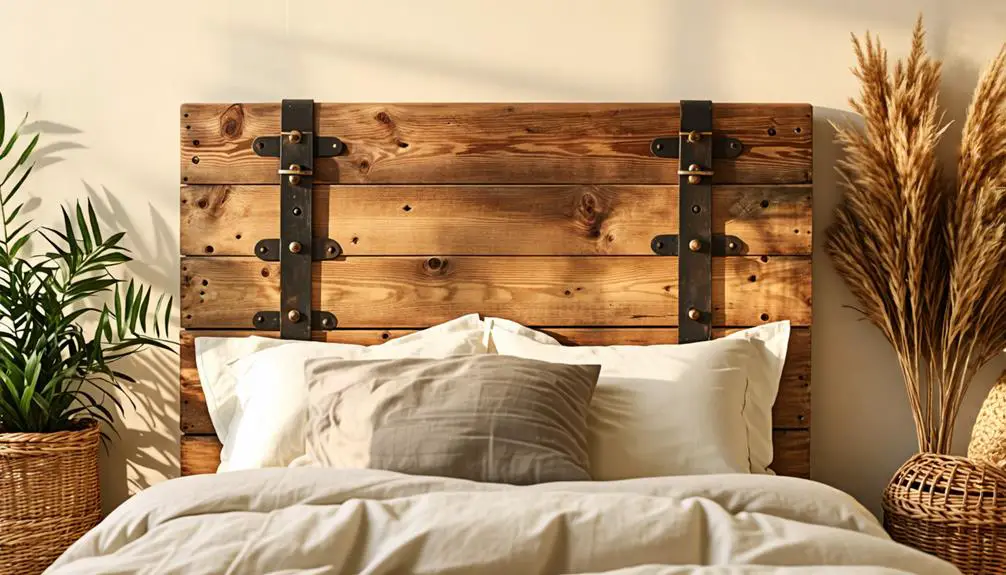
As the headboard frame takes shape, my focus shifts to incorporating the rustic finishing touches that will give my DIY farmhouse headboard its unique character.
I'm using a combination of distressed wood and metal accents to achieve a vintage look. I'll add some decorative nails to the frame, which won't only add to the rustic charm but also provide extra support.
To enhance the distressed look, I'll use a wood stain and then lightly sand it to reveal the natural texture of the wood.
Assembling and Installing Headboard

My next step is to carefully assemble the headboard frame, guaranteeing all the pieces fit together snugly and securely to create a sturdy structure. I double-check my measurements to guarantee the corners are square and the sides are even.
As I assemble, I think about the emotions this headboard will evoke:
- I envision waking up every morning in a cozy retreat that feels like a luxury getaway: I'm excited to add a touch of rustic charm to my bedroom.
- I imagine running my hands over the rough-hewn wood, feeling the imperfections and character of the natural material: I'm drawn to the unique beauty of this piece.