Rustic Farmhouse Sign Ideas: DIY Projects and Inspirations
I've discovered that rustic farmhouse signs are the ultimate DIY project for adding charm and personality to any home decor. Using materials like wood boards or plywood, you can create custom signs with distressed finishes and eye-catching lettering. Chalk paint and stains help achieve that weathered look, while vinyl letters or Cricut-cut stencils offer endless design possibilities. Seasonal themes and reversible signs keep your decor fresh year-round. Whether you're mounting them on walls, displaying them on easels, or creating a gallery wall, these handmade signs instantly infuse warmth and character into your space. With a few simple techniques, you'll be crafting professional-looking farmhouse signs in no time.
What To Know
- Use reclaimed wood or distressed 1×10 boards for an authentic rustic look on farmhouse signs.
- Incorporate chalk paint and wet distressing techniques to achieve a weathered, vintage appearance.
- Create custom designs with Cricut-cut stencils, removable vinyl letters, or hand-painted lettering using transferable fonts.
- Craft reversible signs with seasonal phrases or images for versatile year-round decor.
- Display signs creatively using metal brackets, easels, or as part of a gallery wall with mixed sizes and styles.
Choosing Your Farmhouse Sign Materials
Three key factors come into play when choosing materials for your DIY farmhouse sign: the base, the finish, and the decorative elements.
For the base, I prefer using a 1×10 wood board from Home Depot, typically 4 to 8 feet long. It's perfect for that rustic look.
When it comes to finish, I love using chalk paint like Dixie Belle's "Drop Cloth" for a true farmhouse feel. It's easy to distress and creates that weathered appearance.
For larger signs, I opt for 1/2-inch thick plywood, measuring 30.25 x 26 inches.
To add personal touches, I use removable vinyl letters or scrapbook paper. Stains like Minwax Provincial enhance the wood grain, while white paint provides a striking contrast for lettering.
These materials combined make for stunning DIY projects that capture the essence of farmhouse style.
Distressing Techniques for Rustic Appeal
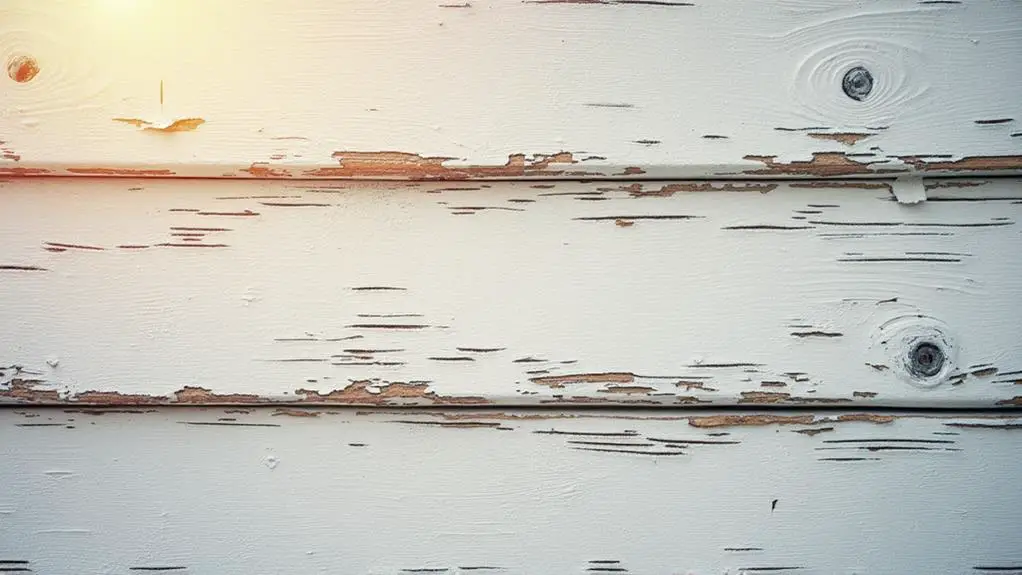
Distressing techniques are the secret sauce that transforms a plain wooden sign into a rustic farmhouse masterpiece. I love using wet distressing to create an organic and aged appearance that's more natural than traditional sanding.
For my DIY farmhouse signs, I often apply multiple coats of chalk paint to achieve opacity before distressing. This enhances the texture and depth of the finish.
To add visual interest, I'll sometimes splatter watered-down paint onto the surface, creating a rustic, textured effect. When I want clean lines and sharp contrasts, I'll use taping techniques to prevent paint from bleeding into unwanted areas during the distressing process.
For transferring quotes or designs, I find that using a brayer helps achieve smooth application while maintaining the distressed finish. These techniques are my go-to methods for creating authentic-looking rustic farmhouse signs.
Lettering and Design Options
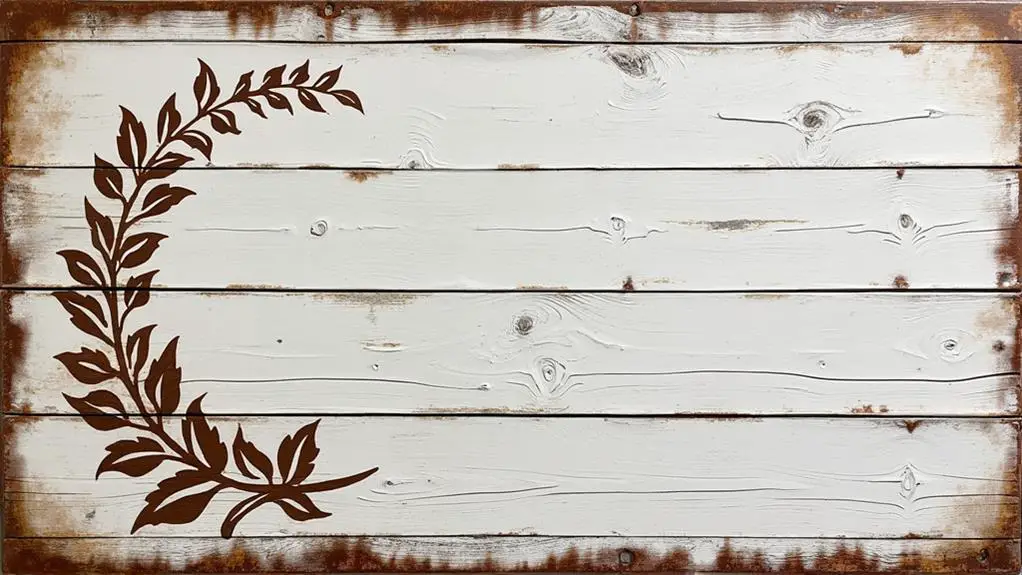
Lettering and design options can make or break a farmhouse sign. I've found that using Bordeaux Roman Bold LET font in mirror image works wonders for lettering.
To transfer designs, I use carbon paper or a Cricut machine for vinyl cutting. These methods are easy to follow and produce beautiful results.
For secure letter placement, I rely on Modge Podge, followed by a wet rag technique to remove excess paper.
Here are four great options for creating stunning farmhouse signs:
- Seasonal phrases on reversible signs
- Removable vinyl for easy repositioning
- Wood glue and finishing nails for 3D lettering effects
- Cricut-cut stencils for intricate designs
With these plans to build your sign, you'll be ready to go in no time. Remember, attention to detail will guarantee you do a great job on your DIY farmhouse sign project.
Customizing Seasonal Farmhouse Signs

Now that we've covered lettering techniques, let's explore the art of customizing seasonal farmhouse signs. I love how these versatile decor pieces can feature different phrases or images on each side, making it a breeze to switch up your home's look throughout the year.
As a DIY enthusiast, I find that using tools like Cricut or Cameo machines helps create precise lettering for seasonal themes. But don't worry if you don't have these gadgets – traditional methods like carbon paper work great too!
When customizing signs, I incorporate colors and symbols associated with specific holidays, like pumpkins for fall or snowflakes for winter. The beauty of reversible designs is that they enhance versatility, allowing for effortless changes between seasons.
This creative expression of personal style not only adds charm to your home but also fosters a sense of accomplishment.
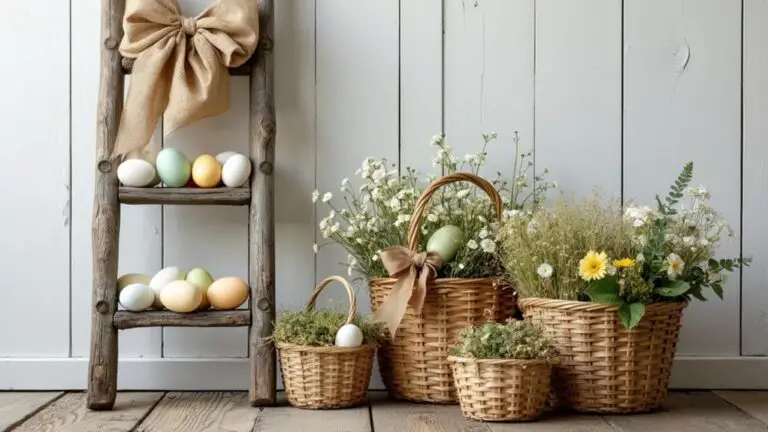
Mounting and Display Ideas
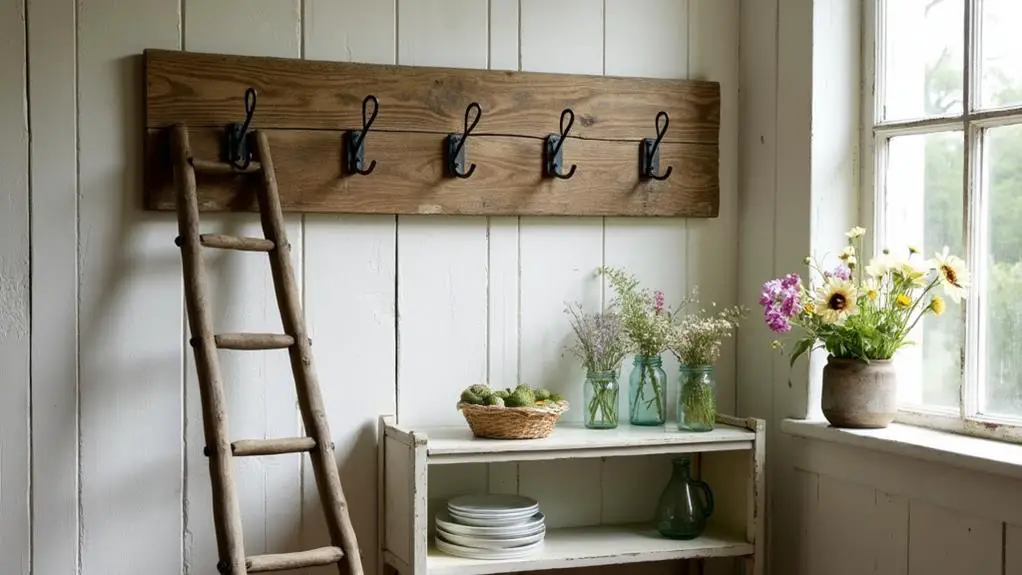
Showcasing your DIY farmhouse sign is just as important as creating it. I've found that choosing the right mounting and display options can enhance the rustic charm of your farmhouse decor. Here are four ideas to contemplate:
- Use metal brackets or hooks for wall-mounted signs, adding an industrial touch.
- Display signs above furniture or entryways as eye-catching focal points.
- Place wooden signs on easels or decorative stands for versatile tabletop displays.
- Create a gallery wall by mixing sizes and styles of farmhouse signs.
I love incorporating natural elements like wood slices or burlap accents when mounting my signs.
It creates a cohesive rustic aesthetic that complements the farmhouse theme. Don't be afraid to experiment with different heights and arrangements to add visual interest and character to your space.
Conclusion
I've fallen in love with rustic farmhouse signs, and I hope you have too. They're like little windows into simpler times, adding charm and character to any space. Whether you're distressing wood, perfecting your lettering, or crafting seasonal designs, the possibilities are endless. I can't wait to see what you create! Remember, your farmhouse sign is a reflection of your style, so don't be afraid to make it uniquely yours. Happy crafting!