Rustic Farmhouse Bench Ideas: DIY Projects for Entryways and Porches
I've found that rustic farmhouse benches are perfect DIY projects for entryways and porches. They combine functionality with charming aesthetics, offering both seating and storage. To create one, I'd use reclaimed wood or distressed finishes for an authentic look. The construction process typically involves assembling a sturdy frame, attaching the top and shelves, and adding finishing touches like cushions or hooks. I'd recommend using weather-resistant materials and treatments for outdoor benches. Customization options are endless, from built-in storage to decorative brackets. With proper care and maintenance, these benches can become timeless pieces in any home. There's so much more to explore about these versatile and stylish additions.
What To Know
- Use reclaimed wood or distressed finishes for an authentic rustic farmhouse look in entryway and porch benches.
- Incorporate storage solutions like built-in compartments or baskets underneath the bench for added functionality.
- Choose neutral tones or dark stains for bench finishes to complement various farmhouse decor themes.
- Add decorative elements such as turned legs, brackets, or church pew-inspired designs for enhanced visual appeal.
- Apply weather-resistant treatments and use pressure-treated lumber for outdoor porch benches to ensure durability.
Essential Materials and Tools
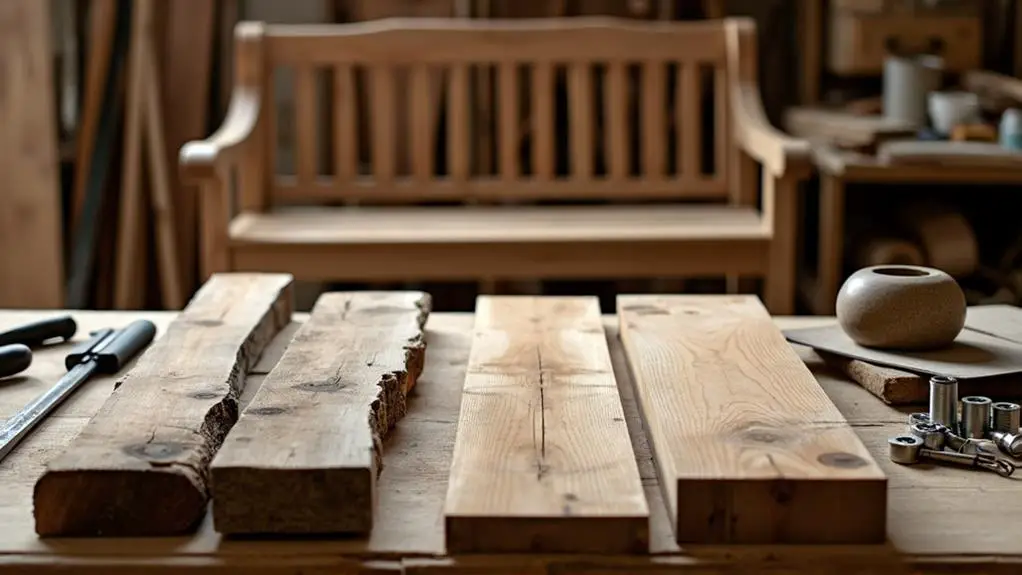
Before initiating your DIY rustic farmhouse bench project, it's important to gather all the necessary materials and tools.
I'll need at least three 8-foot 2×4 lumber pieces and one 8-foot 1×2 lumber for a sturdy build.
Screws are vital; I'll use 2.5-inch grabber screws and pocket hole screws. Wood glue is a must for added strength.
For cutting, I'll rely on a miter saw or circular saw, while a Kreg Jig is perfect for drilling pocket holes. An impact driver will help with assembly, and an orbital sander will smooth surfaces.
I'll also need wood stain or paint for finishing touches.
When selecting lumber, I'll choose straight, high-quality pieces to prevent warping.
Optional items like cushions, brackets, and galvanized bins can enhance the bench's comfort and functionality in my DIY projects.
Design Inspiration and Styles
What makes a rustic farmhouse bench truly stand out? When I'm looking for design inspiration for my DIY farmhouse bench project, I focus on elements that create warmth and character.
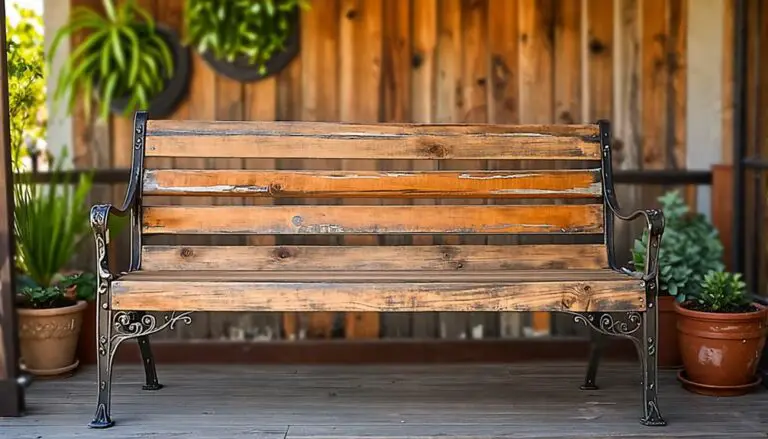
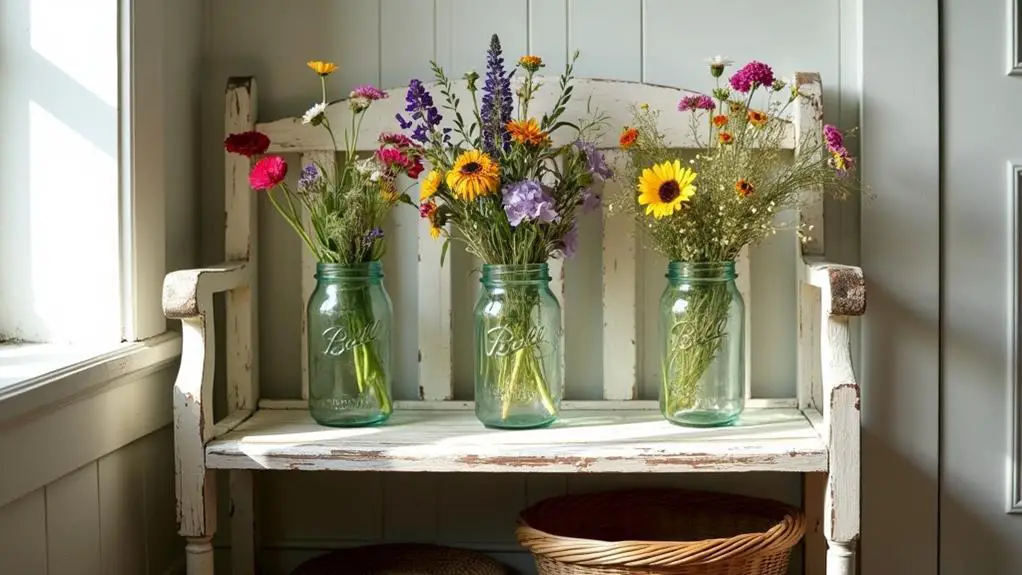
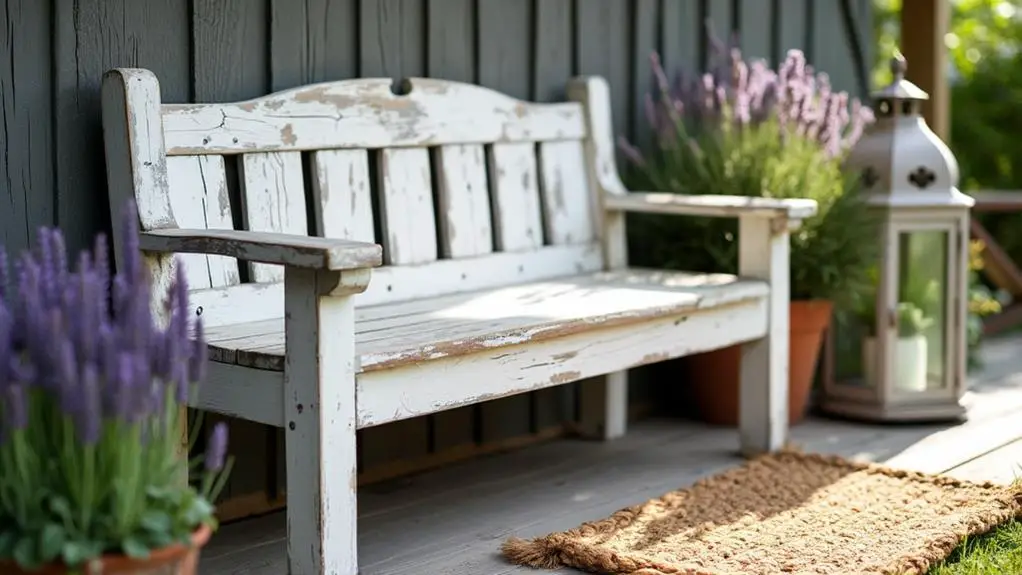
Reclaimed wood or distressed finishes are perfect for achieving that rustic farmhouse style. I love the idea of a church pew-inspired entry bench, with its clean lines and potential for customization.
To build a farmhouse bench that's both functional and stylish, I consider adding turned legs or decorative brackets. These details enhance the visual appeal while maintaining the rustic charm.
When it comes to dimensions, I aim for a 4 to 6-foot length, which provides ample seating without overwhelming the space. For color, I lean towards neutral tones or dark stains, ensuring my rustic farmhouse bench complements various decor themes.
Step-by-Step Construction Guide
I'll start by assembling the frame, which forms the foundation of our rustic farmhouse bench.
Using the cut wood pieces and my Kreg Jig, I'll create strong joints to connect the legs and support beams.
Once the frame is secure, I'll attach the top and any additional shelves, ensuring everything is level and sturdy for long-lasting use.
Assembling the Frame
Let's plunge into the heart of our DIY farmhouse bench: assembling the frame.
I'll start by measuring and cutting the wood pieces to the specified dimensions, guaranteeing precision for a sturdy structure. Next, I'll assemble the rectangular frame using 2.5-inch grabber screws and pocket hole screws for added strength.
It's essential to attach the legs securely at each corner, providing adequate support for the bench. To enhance stability and prevent wobbling, I'll include diagonal supports between the legs and frame.
After assembly, I'll sand all surfaces for a smooth finish, preparing the frame for staining or painting. This step-by-step process will result in a robust farmhouse bench frame that's ready for the next phase of construction.
Attaching Top and Shelves
The next essential step in our farmhouse bench construction is attaching the top and shelves.
I'll start by ensuring all top pieces are cut to the finished dimensions, allowing for a slight overhang. Using a Kreg Jig, I'll drill pocket holes along the edges of the top boards for secure attachment without visible screws.
To attach the legs and top piece, I'll apply wood glue along the edges before screwing them together. This creates a solid bond, making the bench sturdy if I made it correctly.
For the shelves, I'll position them about 9 3/4 inches from the bottom of the legs and secure them with screws or brackets.
As I build this bench, I'll remember to sand all surfaces thoroughly before applying any finish, ensuring a smooth and splinter-free result.
Finishing Techniques and Treatments
I've found that choosing the right finishing techniques can make or break a rustic farmhouse bench.
For a classic look, I'll often start with a wood conditioner, followed by a stain like Minwax Weathered Oak, and seal it with a clear polyurethane.
If I'm creating an outdoor bench, I'll opt for weather-resistant treatments to guarantee longevity against the elements.
Staining and Sealing Options
When it comes to finishing your rustic farmhouse bench, choosing the right staining and sealing options can make all the difference.
I've found that Minwax Weathered Oak or Varathane Early American stains beautifully enhance the wood's natural grain.
Before staining, I always apply a wood conditioner to guarantee a uniform color, especially on softer woods like pine.
To protect the bench, I seal it with Zinsser Clear Satin Shellac or outdoor polyurethane. These protective finishes shield against moisture and wear, prolonging the bench's lifespan.
For a distressed appearance, I sometimes use flat ceiling paint or a solid color with a gloss finish after staining.
Remember, regular maintenance is key to preserving your bench's aesthetic appeal and functionality.
I clean it regularly and reapply sealant as needed to keep it looking great for years to come.
Weatherproofing for Outdoor Use
For outdoor rustic farmhouse benches, weatherproofing is essential to guarantee longevity and durability. I always start by selecting pressure-treated lumber, which resists rot and insects. Before applying any finish, I sand the surfaces with 150-grit sandpaper for a smooth base. This step helps the sealant adhere better and creates a uniform appearance.
To weatherproof, I apply a high-quality outdoor polyurethane or sealant. This protects against moisture and UV damage. For an enhanced finish, I use a wood conditioner prior to staining, preventing uneven absorption.
Regular maintenance is vital; I reapply sealant every few years and check joints for wear. This routine keeps the bench in good condition and prevents weather-related deterioration. By following these steps, I guarantee my outdoor rustic farmhouse bench withstands the elements and remains a beautiful addition to my outdoor space.
Customization and Storage Options
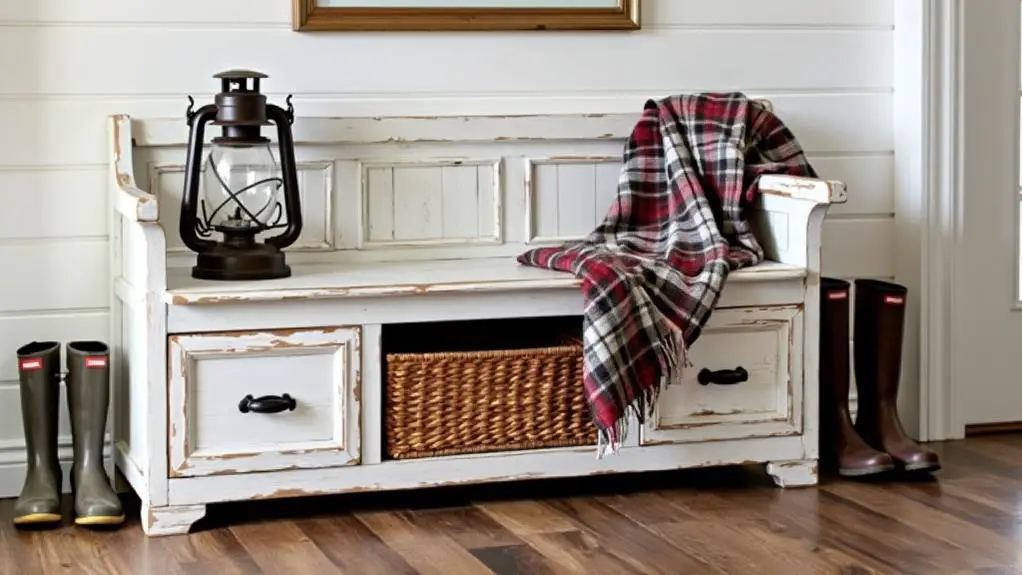
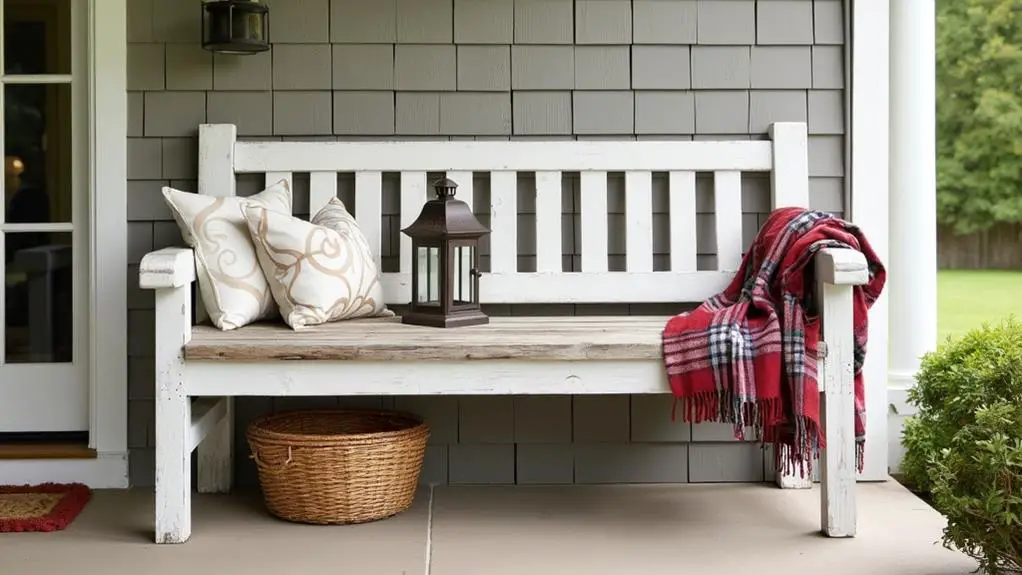
One of the best aspects of DIY rustic farmhouse benches is their versatility when it comes to customization and storage options. I've found that adding storage baskets underneath the bench creates a practical space for shoes and outdoor gear, enhancing organization in entryways or porches. To maximize functionality, I often incorporate hooks or shelves above the bench for additional storage.
| Customization | Storage | Materials |
|---|---|---|
| Adjust length | Baskets | Reclaimed wood |
| Adjust height | Bins | Old doors |
| Add cushions | Hooks | New lumber |
| Paint/stain | Shelves | Metal accents |
| Upholster | Cubbies | Fabric |
I love using reclaimed wood or existing furniture pieces to create unique storage solutions while promoting sustainability. By customizing the bench's dimensions and adding comfortable cushions, I can guarantee it fits perfectly in any space while complementing my home decor.
Maintenance and Care Tips
Maintaining your DIY rustic farmhouse bench is essential for ensuring its longevity and preserving its charm.
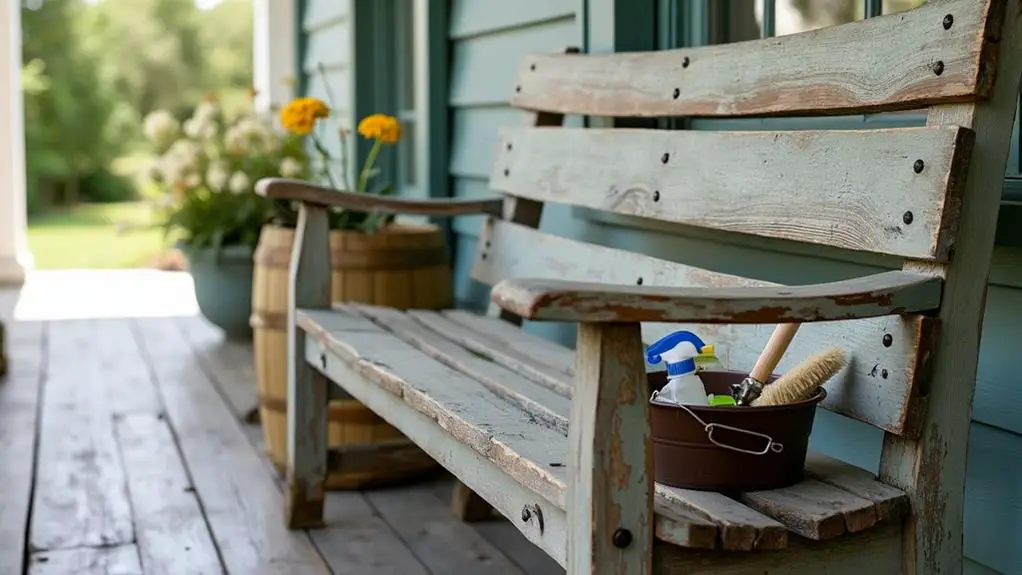
I've found that regular inspections of joints and supports are vital, tightening any loose screws immediately to prevent further damage. I clean my bench with a damp cloth and mild soap, avoiding harsh chemicals that could harm the wood finish.
For outdoor benches, I apply a coat of polyurethane or sealant annually to protect against moisture and UV rays. During harsh weather, I store the bench indoors to prolong its lifespan.
To enhance comfort and prevent scratches, I use cushions or protective covers, which also add a personal touch.
These simple maintenance and care steps help me keep my rustic farmhouse bench looking great and functioning well for years to come.
Conclusion
I hope you're feeling inspired to create your own rustic farmhouse bench! Isn't it amazing how a simple piece of furniture can transform your entryway or porch? With the right materials, tools, and techniques, you'll be able to craft a beautiful, functional bench that adds charm to your home. Remember to maintain it properly, and don't be afraid to customize it to suit your needs. Now, it's time to roll up your sleeves and get building!