Halloween Village Display Ideas: Spooky Miniature Worlds
I've crafted countless Halloween village displays, and I'll share my top tips for creating a spooky miniature world. Start by choosing a theme, like Spooky Town or Dept. 56's Snow Village Halloween. Add essential elements like multi-level platforms, detailed accessories, and fine textures. Create depth with layered foam bases and dry brushing techniques. Don't forget eerie lighting—use LED strips and battery-operated lights for the perfect ambiance. Personalize your village with custom signs and unique vignettes. Proper storage and maintenance are vital for preserving your display's charm. There's so much more to explore in the world of miniature Halloween magic.
What To Know
- Choose a cohesive theme and color palette to create a unified Halloween village display.
- Incorporate multi-level platforms and vertical elements to add depth and dimension to the scene.
- Use strategic lighting techniques, including layered and colored lights, to enhance the spooky atmosphere.
- Personalize your display with custom accessories, themed vignettes, and unique storytelling elements.
- Implement proper storage and maintenance practices to preserve your Halloween village for future seasons.
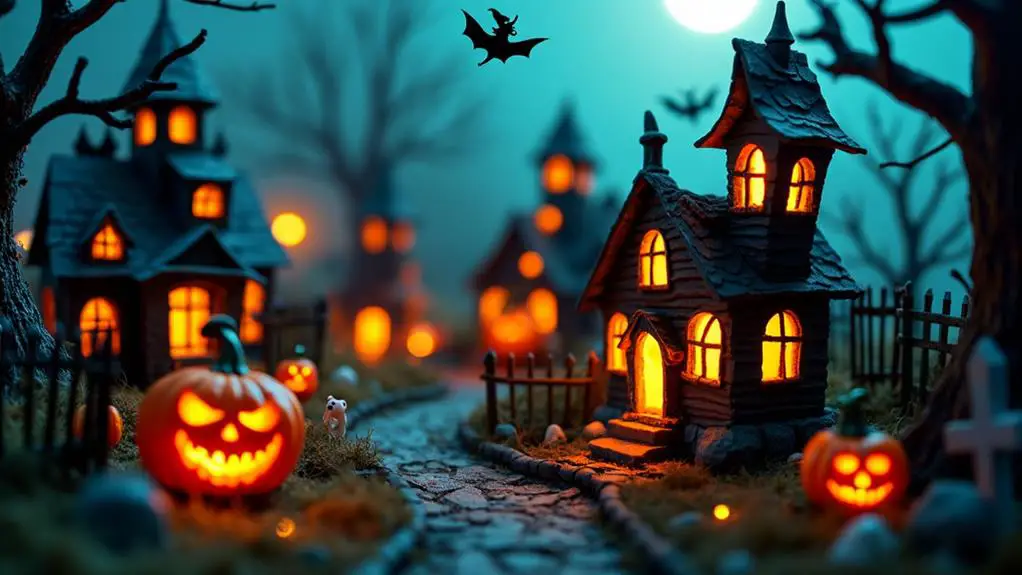
Choosing Your Halloween Village Theme
When setting up a Halloween village display, choosing the right theme is essential. I've found that popular options like Spooky Town Halloween Village offer a creepier aesthetic, while Dept. 56's Snow Village Halloween brings vintage charm.
To start my village collection, I select a few key pieces that reflect my chosen theme. This approach helps me avoid overwhelming expenses and allows for gradual expansion, adding one building each year.
I make sure to incorporate a cohesive color palette and accessories that align with my theme. For a classic Halloween feel, I opt for orange and black decorations.
To personalize my display, I include elements from my family history or local folklore, creating a unique narrative within my village.
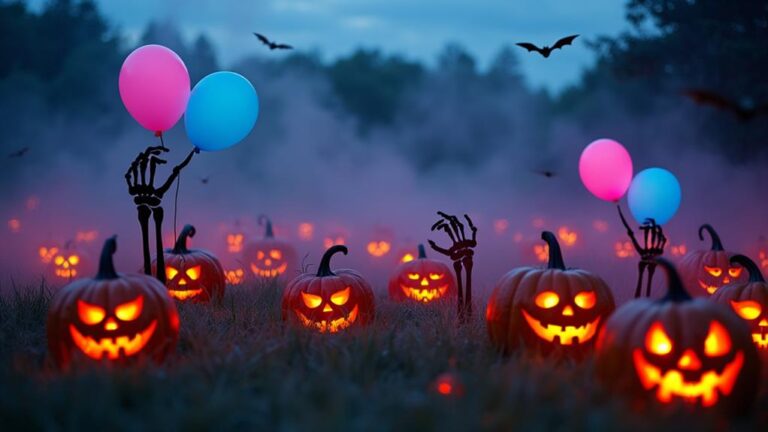
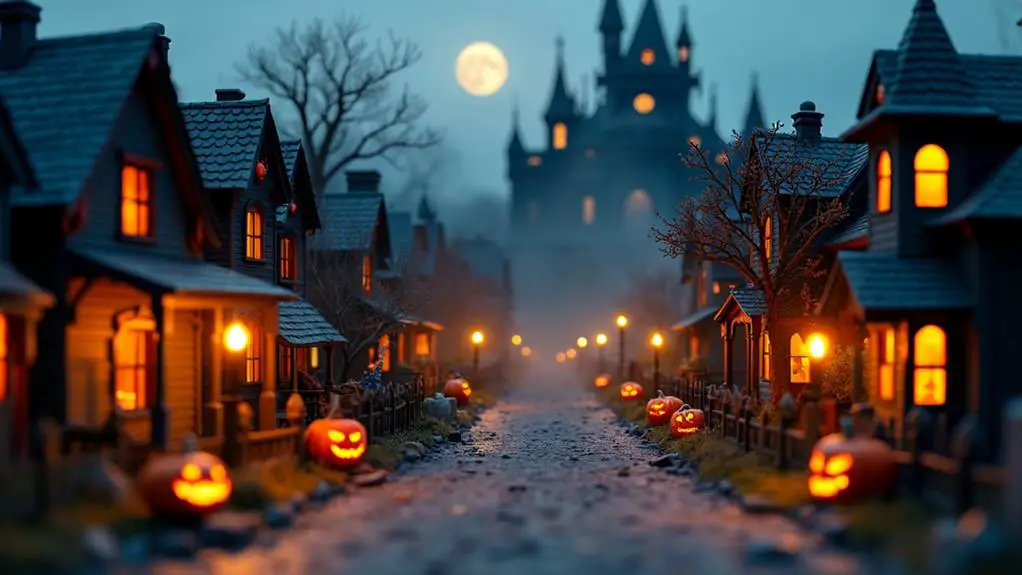
Essential Elements for Spooky Scenes
Creating a truly spooky Halloween village scene requires attention to detail and strategic use of key elements. I've found that incorporating multi-level display platforms adds depth and enhances the visual appeal of my spooky village.
I always use detailed accessories like tombstones and animated figurines to create an immersive experience. To elevate realism, I add fine textures to the ground and pathways.
Lighting is vital for setting the mood, so I use battery-operated lights and LED strips to highlight key features and create an eerie ambiance around my lighted buildings.
I love adding customizable elements like personalized village signs to tell unique stories within my scenes. These essential elements work together to transform my Halloween village into a fascinating miniature world that's sure to spook and delight visitors.
Creating Depth and Dimension
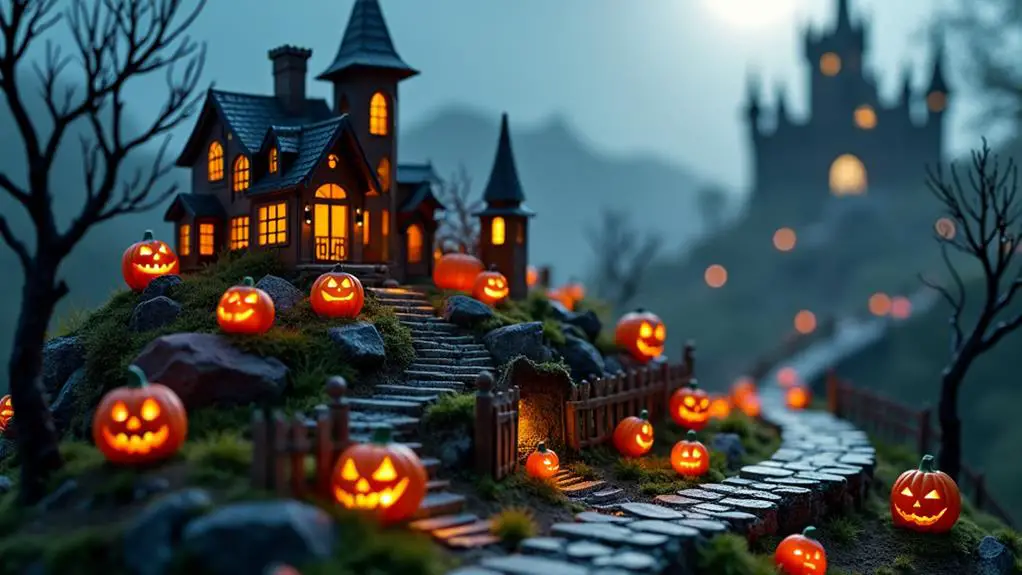
I'll start by exploring layered foam base techniques that can add incredible depth to your Halloween village display.
Next, I'll share some vertical display elements that'll help your scene reach new heights.
Layered Foam Base Techniques
Crafting a spooktacular Halloween village display starts with mastering layered foam base techniques. I've found XPS foam to be ideal for creating intricate bases, as it's denser and easier to carve than EPS foam.
I begin by cutting larger pieces for the base layout, then use tools like a Hot Knife and Freehand Router to carve out unique features such as stairs, ponds, and hills. To add depth and dimension, I stack foam layers, creating a multi-level design that's visually appealing and dynamic.
Before painting, I apply fine aquarium sand for a realistic ground texture. I use dry brushing techniques with acrylic paint to highlight contours and bring attention to intricate details.
This layered approach transforms my Halloween villages into immersive, spooky miniature worlds that captivate viewers.
Vertical Display Elements
Building upon the layered foam base, vertical display elements take your Halloween village to new heights—literally.
I've found that incorporating tiered platforms and raised structures adds depth and dimension to my spooky miniature world. By using display platforms with varying heights, like staircases or slopes made from XPS foam, I can create a more dynamic arrangement of buildings and figurines.
I love adding accessories such as bridges or elevated walkways to enhance the aesthetic appeal and create a cohesive narrative throughout the layout. To highlight these vertical elements, I strategically place LED lights at different levels, which also enhances the overall ambiance.
Lighting for Depth
Lighting's transformative power breathes life into a Halloween village, creating depth and dimension that enthrall viewers.
I've found that layering different light intensities adds depth to my display, combining soft glows with brighter accents to highlight focal points. To achieve this effect, I strategically place lights behind structures and beneath platforms, creating eerie shadows and layers.
To enhance the lighting for depth in your Halloween village, try these tips:
- Use battery-operated lights for flexible placement
- Incorporate brightly colored lights, like orange pumpkin lights
- Utilize multi-output adaptors for easy management
I've discovered that these techniques not only create a visually engaging experience but also add an extra layer of spookiness to the overall ambiance.
Lighting for Eerie Atmosphere
A well-lit Halloween village display can transform an ordinary scene into a fascinating, eerie spectacle.
When I'm designing my Halloween village, I focus on creating an eerie atmosphere through strategic lighting. I love using brightly colored lights, especially orange and purple hues, to enhance the spooky ambiance. Battery-operated lights are my go-to choice for flexibility, and I always keep extra AA batteries on hand.
I've found that incorporating LED lights adds a modern touch while being energy-efficient. To create a ghostly vibe, I use flickering lights to simulate candlelight in certain areas.
I carefully place lights to highlight specific buildings and characters, drawing attention to intricate details. This approach makes my Halloween village display more engaging and immersive, enchanting viewers with its haunting allure.
Personalizing Your Miniature World
I love creating themed vignettes within my Halloween village to tell unique stories and capture specific moods.
By integrating custom accessories like personalized tombstones or spooky signs, I can add layers of meaning and individuality to each scene.
These special touches not only make my display stand out but also allow me to infuse my own creativity and family history into the miniature world.
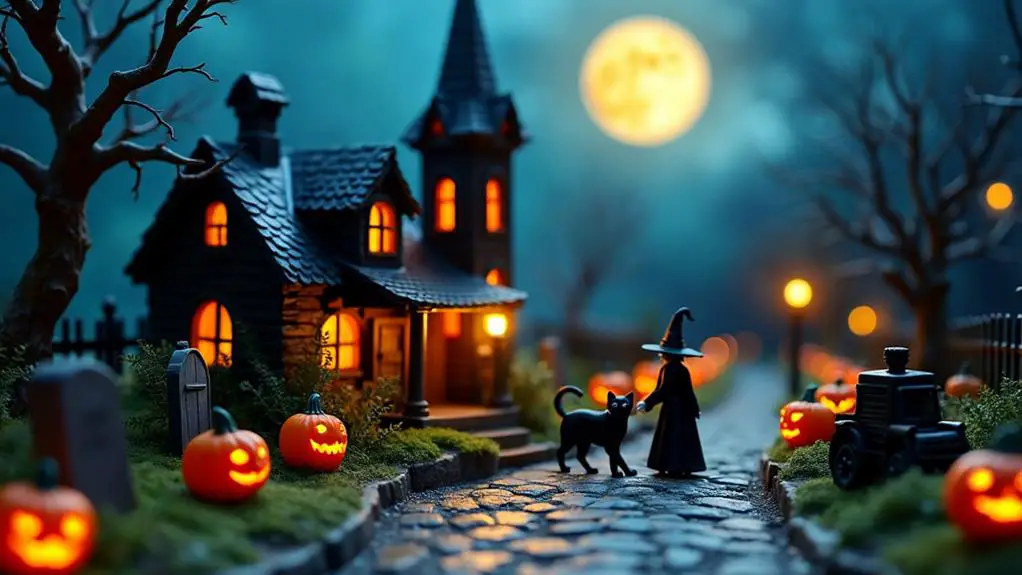
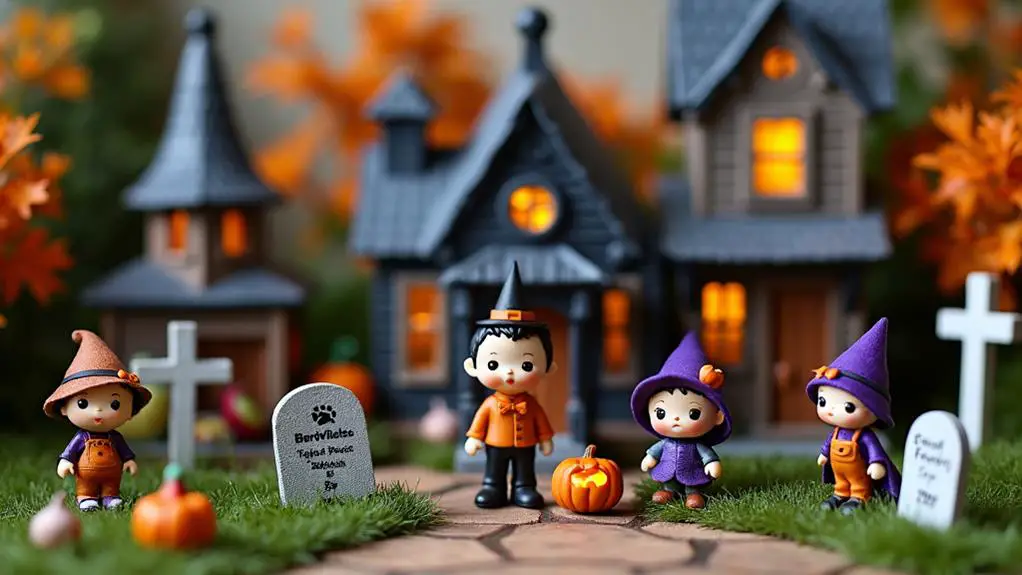
Themed Vignettes Creation
Creating themed vignettes within your Halloween village is a fantastic way to personalize your miniature world and enhance its storytelling potential.
I love grouping figurines and accessories around specific narratives, like a haunted carnival or spooky graveyard scene. To make your themed vignettes truly stand out, consider these tips:
- Utilize creative lighting, such as orange pumpkin lights, to create an eerie glow around ghostly characters.
- Incorporate seasonal elements like autumn leaves and mini pumpkins for added texture and depth.
- Repurpose foam scraps to craft unique backdrops or terrain features, adding a three-dimensional effect.
I find that mixing accessories from different collections, like Lemax and Dept. 56, helps create diverse and unique scenes.
This approach guarantees each vignette maintains its own character while contributing to the overall Halloween village aesthetic.
Custom Accessory Integration
Custom accessories breathe life into your Halloween village, altering it from a generic display into a personalized miniature world. I've found that integrating unique tombstones, figurines, and themed signs enhances storytelling and creates a distinct atmosphere.
I love incorporating handmade or vintage pieces to add charm and visual appeal. To achieve a cohesive look, I include seasonal elements like spooky trees and autumn leaves, which elevate the overall ambiance.
I've discovered that versatile accessories adapting from Halloween to Christmas allow for year-round creativity. My favorite way to make my Halloween village truly one-of-a-kind is by adding personalized elements.
I custom-paint figurines and craft unique decorations that reflect my individual style. These personal touches make my miniature world stand out and create a memorable display that captivates visitors.
Seasonal Storage and Maintenance
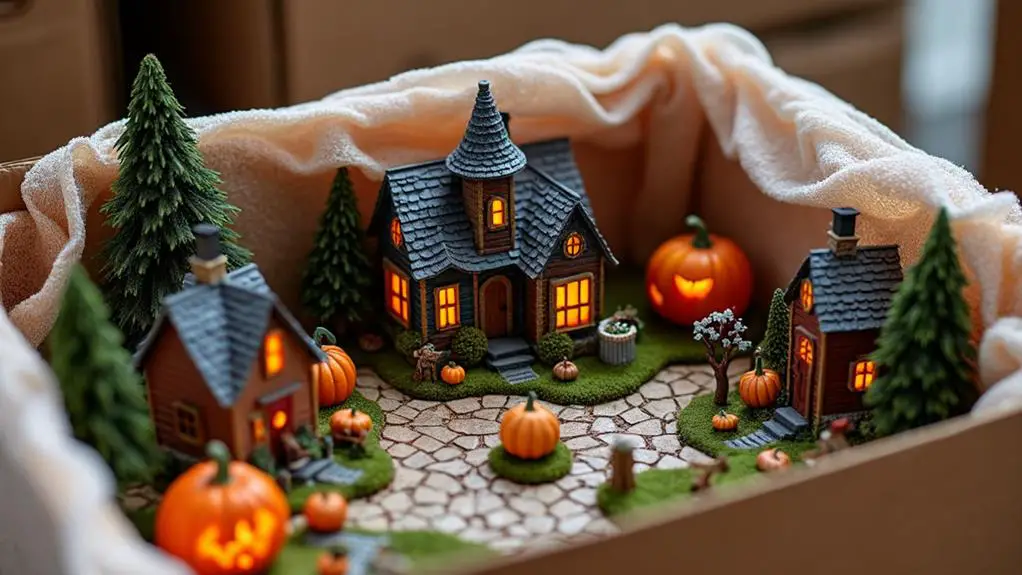
After the spooky season ends, proper storage and maintenance of your Halloween village display become essential for preserving its charm year after year.
I've learned that seasonal storage in original packaging is key to maintain quality and minimize damage. I always gently dust my decorations with a soft brush before packing them away.
To guarantee my Halloween village stays in top condition, I follow these steps:
- Handle pieces carefully during setup and takedown
- Store items away from extreme temperatures and humidity
- Safely store mini LED lights to prevent tangling
I've found that avoiding exposure to harsh conditions helps prolong the lifespan of my cherished decorations.
Conclusion
I've discovered that creating a Halloween village display is an enchanting way to celebrate the spooky season. It's fascinating to learn that 72% of Americans decorate their homes for Halloween, according to the National Retail Federation. Whether you're part of this majority or just starting out, building a miniature spooky world allows you to express your creativity and bring joy to others. I can't wait to see how my village evolves each year, becoming a cherished part of my Halloween traditions.