DIY Fall Decor Signs: Personalize Your Seasonal Decorations
Personalizing your fall decor with DIY signs is a fun and budget-friendly way to add seasonal charm to your home. I'll show you how to choose the perfect base material, from rustic wood pallets to lightweight canvas. You'll learn essential tools and supplies needed, plus creative design ideas that'll make your signs stand out. I'll share painting techniques, color schemes, and lettering options to bring your vision to life. We'll explore embellishments and finishing touches that add that extra wow factor. Finally, I'll guide you on displaying your creations for maximum impact. Get ready to release your inner autumn artist!
What To Know
- Choose a suitable base material like wood or canvas for your DIY fall sign project.
- Gather essential tools and supplies including paints, brushes, and decorative elements like faux leaves.
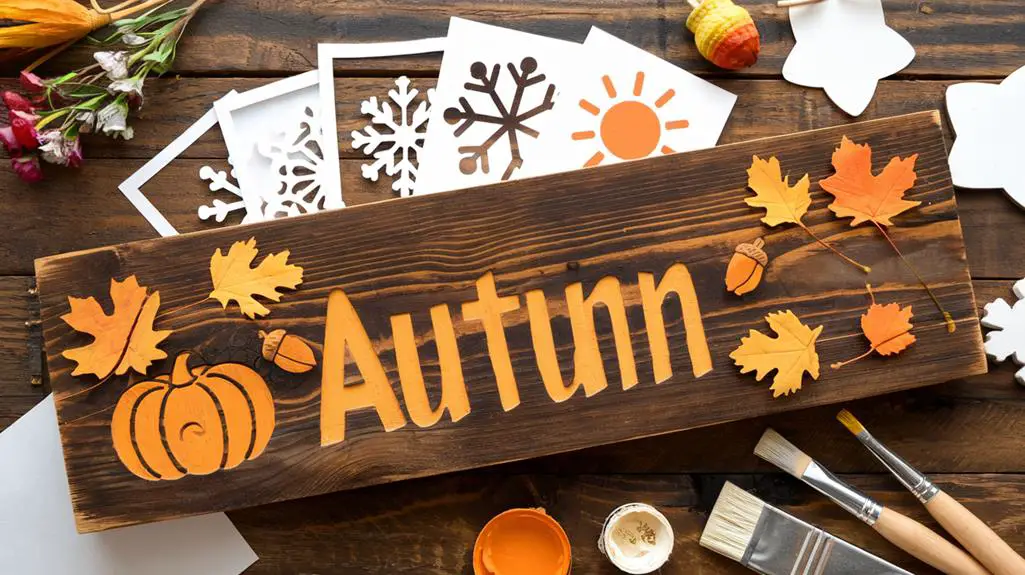
- Experiment with various design techniques such as layered paint, stencils, or vinyl lettering for personalization.
- Add embellishments like metallic accents or natural elements to enhance visual appeal and texture.
- Display signs strategically, using grouping techniques and seasonal rotation for maximum impact throughout fall.
Choosing Your Sign's Base Material
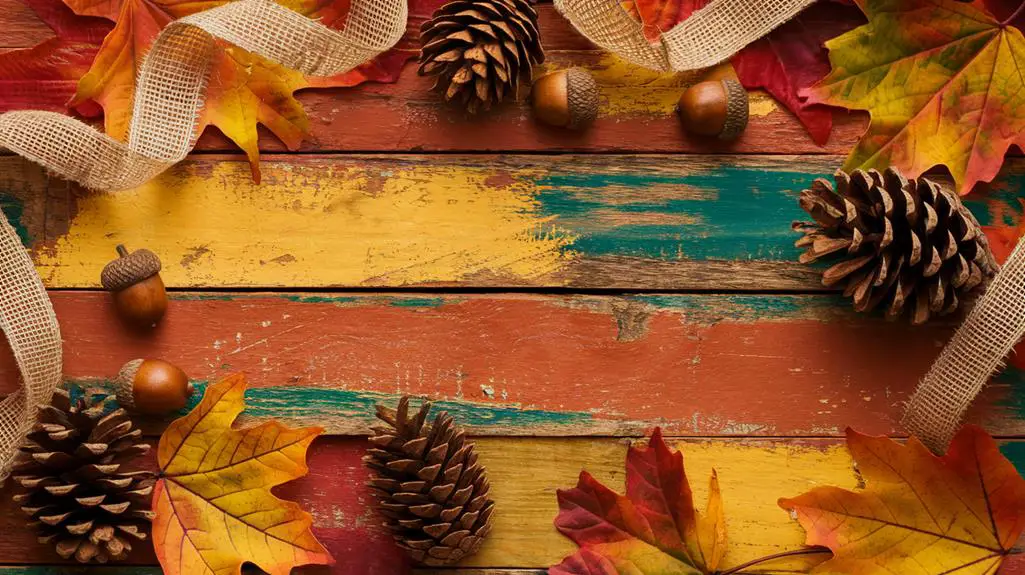
As autumn approaches, it's time to contemplate the perfect base material for your DIY fall decor sign.
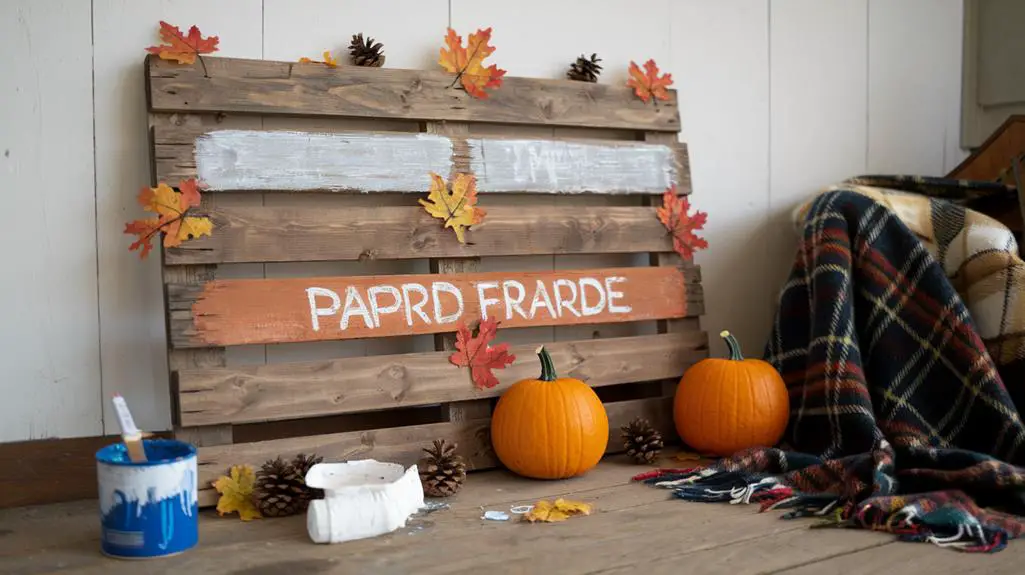
I've found that pre-made, unfinished wood pallets are an excellent choice, offering a rustic charm that's perfect for a wooden fall sign. You can easily find these at your local hardware store.
If you're looking for a more sustainable option, consider reusing wood scraps from previous projects. This approach not only reduces waste but also allows for unique, personalized designs.
Old pallet wood is another fantastic option, adding a touch of vintage appeal to your decor.
If you prefer a lighter, more flexible base, canvas is a budget-friendly alternative that's easy to hang.
Whichever material you choose, don't forget to clean and sand wood surfaces before painting to guarantee a smooth finish and better paint adherence.
Essential Tools and Supplies
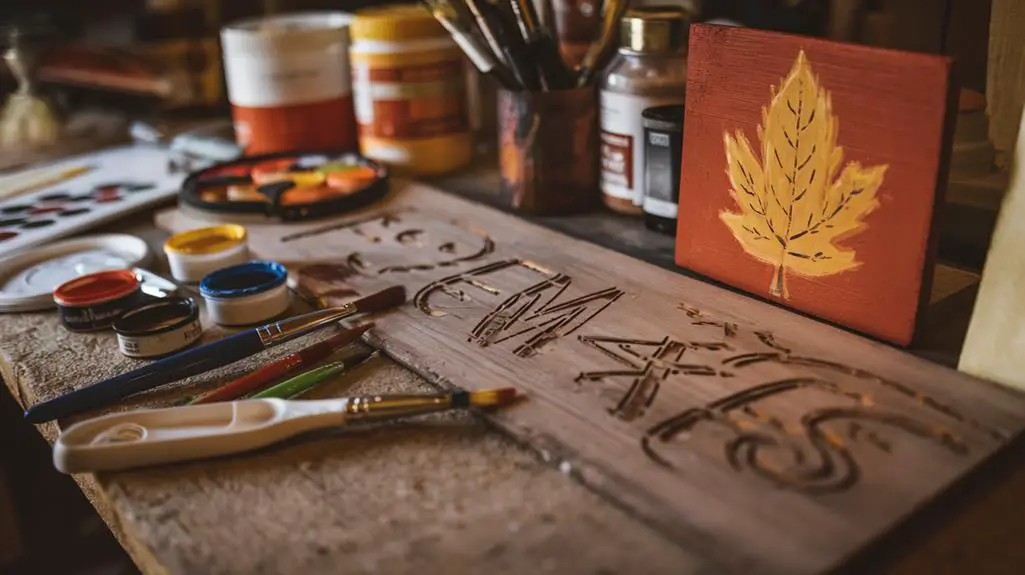
When it comes to creating DIY fall decor signs, having the right tools and supplies is vital for success.
I'll need scissors for cutting materials, a hot glue gun for assembly, and a staple remover to detach canvases from frames. For my DIY sign, I'll grab canvas frames from Dollar Tree in sizes like 6×8 or 5×7.
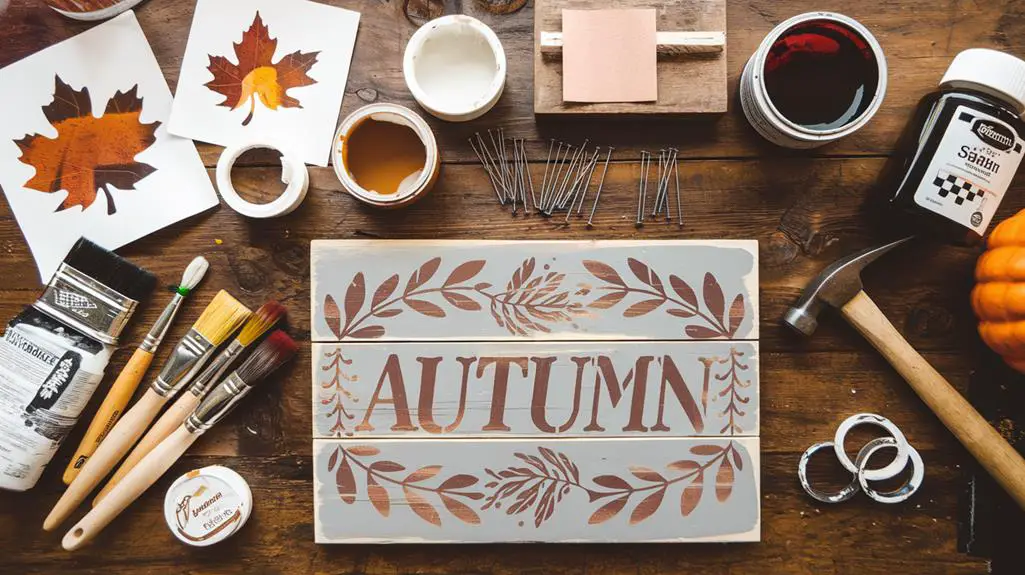
Paint, brushes, and vinyl lettering are must-haves for personalized designs. To enhance my sign's appeal, I'll add faux leaves, pumpkins, or googly eyes.
For a professional finish, wood conditioning and sanding tools are essential. If I'm displaying my sign outdoors, I'll protect it with wood sealant and polyurethane.
These vital tools and supplies will help me create stunning fall decor that's both personalized and durable.
Design Ideas for Fall Signs
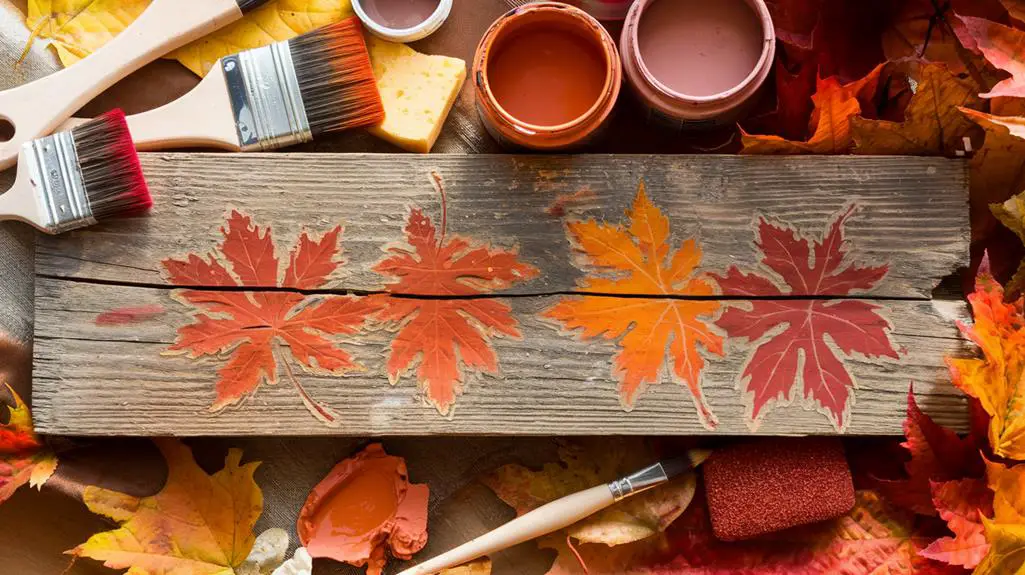
Five exciting design ideas can elevate your DIY fall decor signs. I'll share some creative ways to make your simple craft stand out. First, consider using contrasting wood types and colors for a visually appealing design. Test paint colors beforehand to achieve the desired effect. Incorporate seasonal themes like pumpkins and leaves using stencils or hand lettering for personalized messages. Layered paint techniques and sponge application can add depth and texture to your DIY fall signs.
| Design Idea | Description |
|---|---|
| Contrasting Woods | Mix light and dark wood types |
| Seasonal Stencils | Use pumpkin or leaf shapes |
| Layered Paint | Apply multiple coats for vibrancy |
| Framed Signs | Add wood trim for visual interest |
| Reversible Designs | Create versatile, updateable signs |
For added flair, frame your signs with wood trim and pair them with other fall decorations. Consider creating reversible designs for easy seasonal updates.
Painting Techniques and Color Schemes
Mastering painting techniques and color schemes is essential for creating stunning DIY fall decor signs. I've found that layered paint techniques can add depth and dimension to your signs.
Try using a sponge to blend colors seamlessly, creating a more visually appealing finish. When working with stencils, use painter's tape for crisp, clean edges that enhance your overall design.
Don't forget to test stain colors on scrap wood, as different types absorb colors differently. For vibrant hues, apply multiple coats of paint, allowing adequate drying time between each.
I love using contrasting colors for the base and design to make my signs stand out. Remember, painting techniques and color schemes can transform your fall decor signs from ordinary to extraordinary, making them the perfect focal point for your seasonal decorations.
Adding Text and Lettering
The art of adding text and lettering onto your DIY fall decor signs can truly elevate your creations from simple to spectacular.
I love using vinyl lettering or letter stickers for a clean, professional look that's easy to customize. If you're feeling creative, try hand-lettering with chalk pens or paint markers for a rustic touch.
Don't forget to experiment with different fonts and sizes to create visual interest.
For precise lettering, especially on complex designs, I recommend using stencils. They're great for maintaining consistent spacing across your sign.
To make your text pop, consider layering paint techniques behind the lettering. Here are some ideas:
- Sponging for a textured background
- Blending colors for a gradient effect
- Creating a distressed look with dry brushing
Embellishments and Finishing Touches

Now that we've covered text and lettering, let's explore how to elevate your fall decor signs with embellishments and finishing touches.
I'll show you how to incorporate natural elements for texture, add metallic accents for shimmer, and use ribbons and fabric to enhance your designs.
These final details will transform your signs from simple crafts to stunning seasonal decorations that capture the essence of autumn.
Natural Elements for Texture
Enhancing your DIY fall decor signs with natural elements brings depth and texture to your creations, elevating them from simple displays to eye-catching focal points.
I love using faux pumpkins, wooden leaves, and decorative moss to add that authentic autumn feel. These natural elements not only complement the warm aesthetic of fall but also create a visually striking contrast when combined with wood or canvas bases.
To further enhance your DIY fall decor, consider:
- Layering techniques like applying paint over twine or moss
- Adding rustic accents with twine or burlap embellishments
- Gluing seasonal elements such as acorns or pinecones onto your signs
These natural touches will give your signs a unique texture that catches the eye and adds dimension.
Metallic Accents and Shimmer
While natural elements bring texture to your fall decor signs, adding metallic accents and shimmer can take them to the next level. I love incorporating gold or copper paint to add warmth and elegance to my DIY fall decor ideas.
For a modern twist, try using metallic vinyl lettering that stands out and reflects light beautifully. To enhance the overall aesthetic, I often add metallic leaves or shimmering faux pumpkins, creating a cohesive look across my seasonal decor.
Don't forget to layer these metallic elements with natural textures like burlap or twine for an eye-catching contrast. As a finishing touch, I apply a clear metallic spray sealant, which not only protects the sign but also imparts a subtle sheen that enhances colors and textures.
These simple additions can truly elevate your fall decorations.
Ribbons and Fabric Additions
Countless ribbons and fabric additions can transform your DIY fall decor signs from simple to stunning. I love using wired ribbons for bows, as they hold their shape beautifully and add dimension to your creations.
Don't shy away from mixing textures; try combining burlap, plaid, or autumn-themed prints for a rich, layered look.
For a playful touch, cut fabric scraps into leaf or pumpkin shapes and glue them onto your signs. This technique captures the essence of fall while adding visual interest.
Consider these ideas to elevate your DIY fall decorating:
- Use fabric-covered letters to tie your sign's color scheme together
- Combine ribbons with twine or natural elements for a rustic feel
- Create depth by layering different fabrics and ribbons
Displaying Your DIY Fall Signs
Now that you've created your beautiful DIY fall signs, let's explore how to showcase them in your home.
I'll share some strategic placement options that'll make your signs stand out, as well as tips for grouping them for maximum visual impact.
We'll also discuss seasonal rotation techniques to keep your decor fresh and exciting throughout the fall months.
Strategic Placement Options
Your DIY fall signs are ready to shine, but their impact depends greatly on where you place them. When considering strategic placement options, I recommend positioning them near entryways or on your fall porch to create a warm welcome for guests.
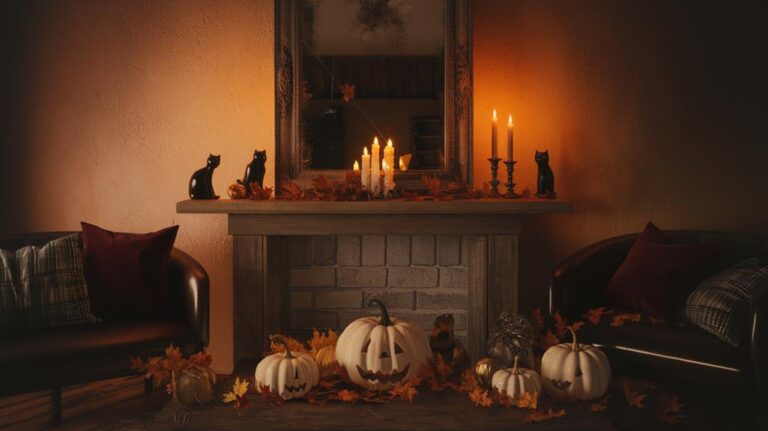
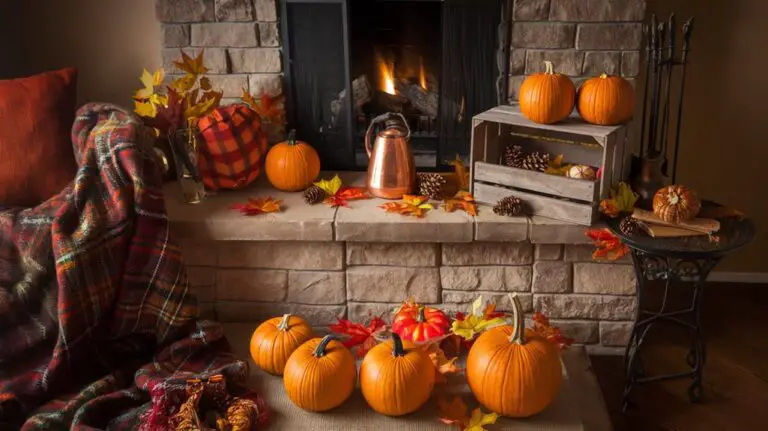
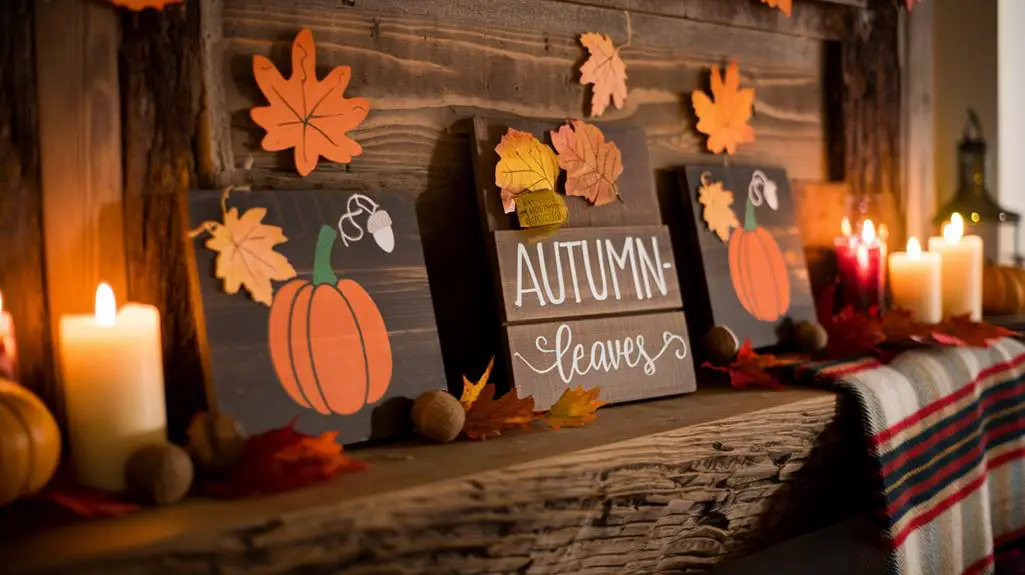
Inside, incorporate your simple DIY fall signs into your mantel decor, pairing them with candles and pumpkins for a cohesive look.
To decorate your home effectively, consider these placement ideas:
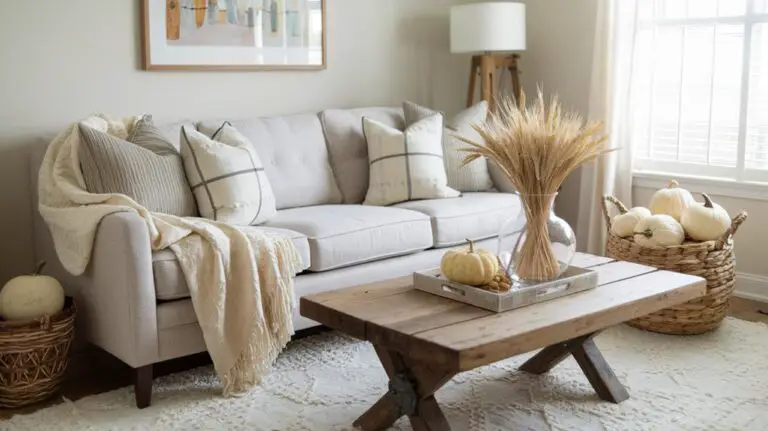
- Use large signs as focal points in open spaces like living rooms
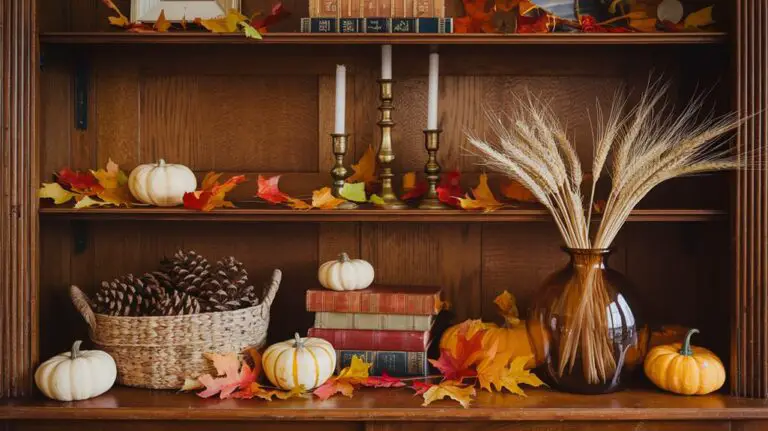
- Display smaller signs on shelves or tabletops for layered visual interest
- Hang signs at eye level on walls or fences for maximum visibility
Grouping for Visual Impact
Once you've chosen the perfect spots for your DIY fall signs, it's time to contemplate how to group them for maximum visual impact. I recommend arranging your signs by theme or color to create a cohesive display. Mix varying heights and sizes to add dimension and interest. Don't forget to incorporate natural elements like faux pumpkins and leaves to blend textures and colors seamlessly.
For a truly eye-catching grouping, consider this arrangement:
| Standing Signs | Wall-Mounted | Natural Elements |
|---|---|---|
| Large Welcome | Thankful | Pumpkins |
| Gather | Blessed | Leaves |
| Harvest | Fall Y'all | Pinecones |
| Give Thanks | Autumn | Acorns |
| Grateful | Cozy | Wheat Stalks |
Seasonal Rotation Techniques
Several clever techniques can help you rotate your DIY fall signs seasonally, keeping your decor fresh and exciting throughout the year.
I love using reversible designs for my DIY fall signs, allowing me to flip them over and showcase different autumn themes without starting from scratch.
Another great seasonal rotation technique is to update the embellishments or lettering on your signs, giving them a fresh look with minimal effort.
To maximize the impact of your DIY fall signs and other autumn decor, consider these craft ideas:
- Display signs in prominent areas like entryways or mantels
- Incorporate small seasonal decorations around your signs
- Store signs properly during off-seasons to maintain their condition
Seasonal Adaptations and Variations
With fall's ever-changing beauty, DIY decor signs can be adapted to capture the season's evolving charm. I've found that incorporating seasonal adaptations like interchangeable components allows for easy updates throughout autumn. You can use removable letters or embellishments to switch up your sign's message or look.
Here's a quick guide to seasonal motifs and their visual appeal:
| Motif | Early Fall | Late Fall |
|---|---|---|
| Colors | Warm oranges, yellows | Deep reds, browns |
| Nature | Leaves, acorns | Pumpkins, gourds |
| Themes | Harvest, abundance | Thanksgiving, gratitude |
Consider using reversible designs to celebrate different occasions. One side can feature Halloween decor, while the other showcases Thanksgiving themes. Magnets or Velcro make it simple to change elements quickly. Don't forget to explore various styles – rustic, vintage, or modern – to match your personal aesthetic while embracing the fall spirit.